
Hello!
In this article, we will create a NSX-T Segment and check the connectivity between the VMs.
Segment represents switching functionality in NSX-T and completely decoupled from the underlying hardware. In NSX-V they were named “Logical Switches”. VMs can be attached to Segments for further communication between them. Each Segment got its VNI.
Routers, VMs, and containers can be connected to a Segment.
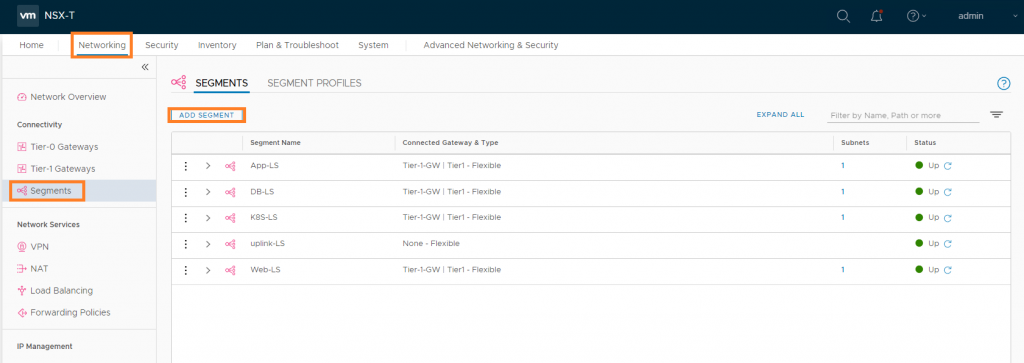
To create a Segment login to NSX-T and go to the Networking Tab, choose Segments and “Add New”:
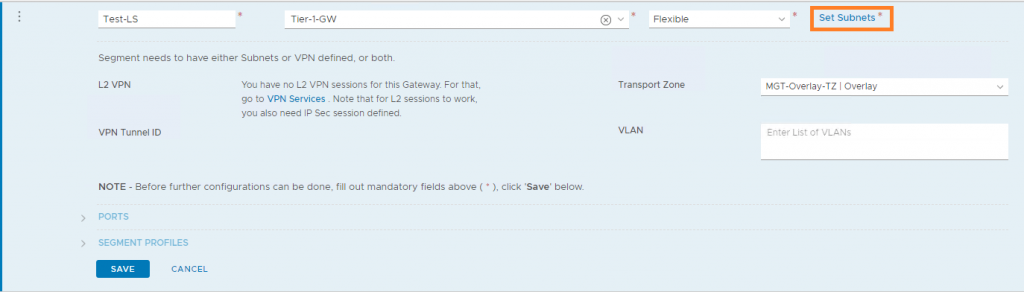
Choose the name for the segment (connect it to the Router (or not)) and set Subnets:
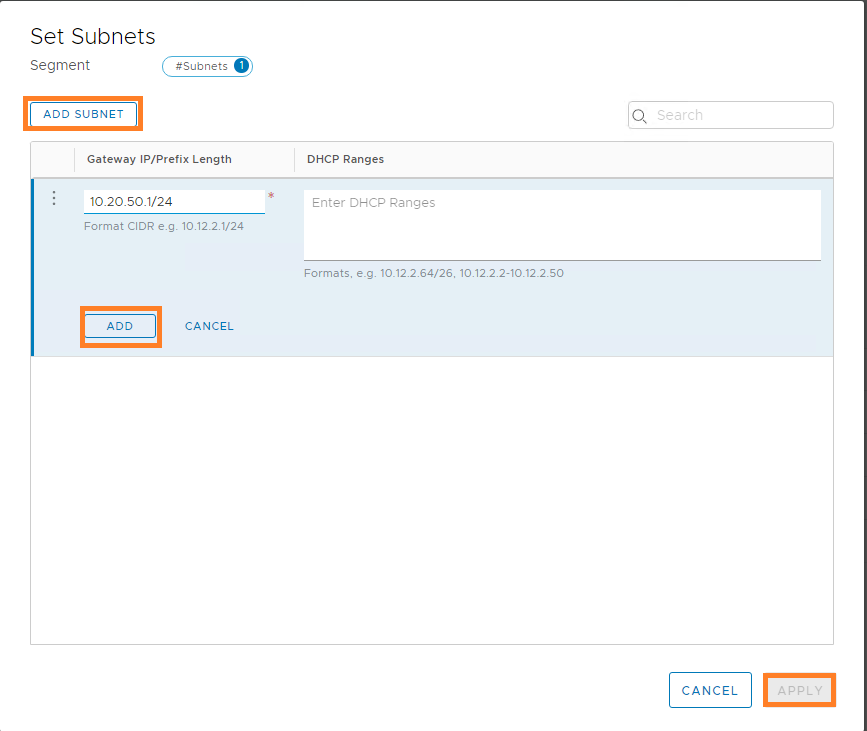
Add a new subnet and press Apply. After you will get to the previous picture where you can save the segment:
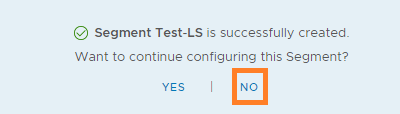
Our Segment was successfully created and we don’t need to do any further configuration
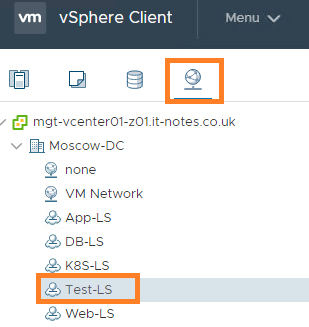
We can see the Segment in vCenter Network Tab.
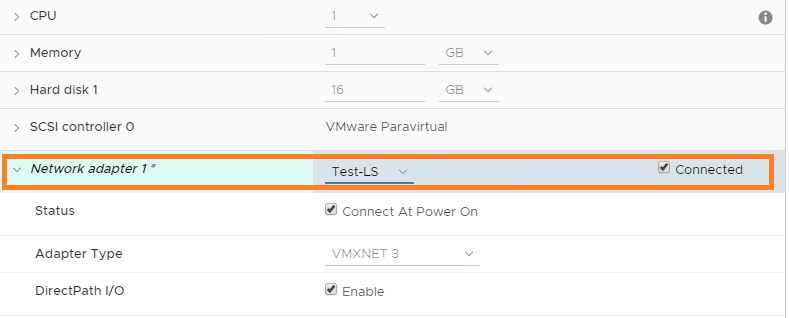
We attach couple of VMs to it:
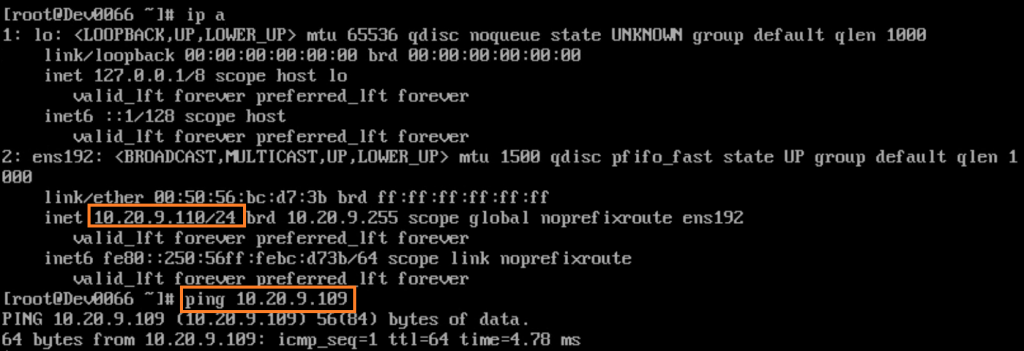
And we test the network connectivity between those VMs:
Hope this short article was useful for you. Thank you for reading.
Leave a Reply