Long-time ago I’ve posted an article about the installation of vRA8. But now it is time to Configure it. We will do it using QuickConfig and Manually.
Due to some changes in my lab environment, I had to rebuild everything. So we start at the point when the “easy-install” is done. And we are logged in to the environment.
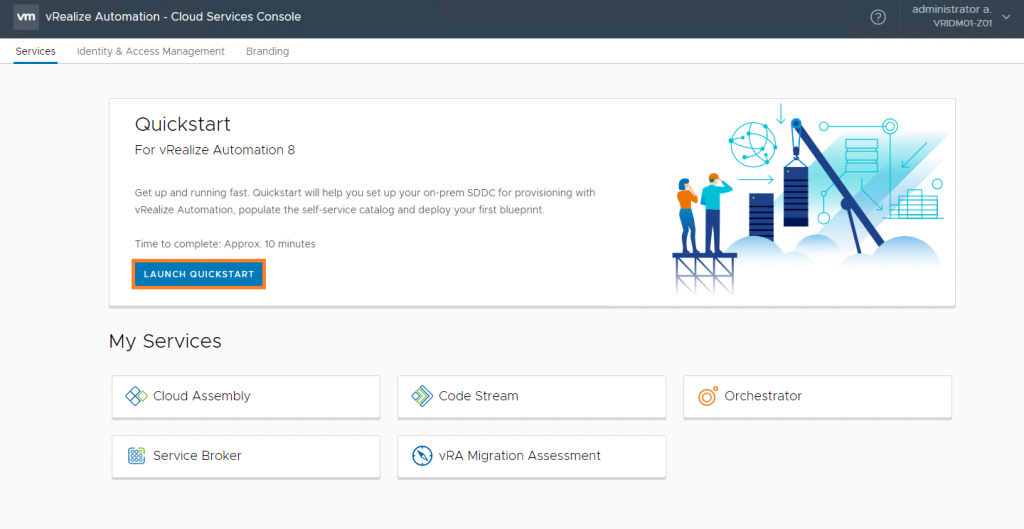
We choose QuickStart first:
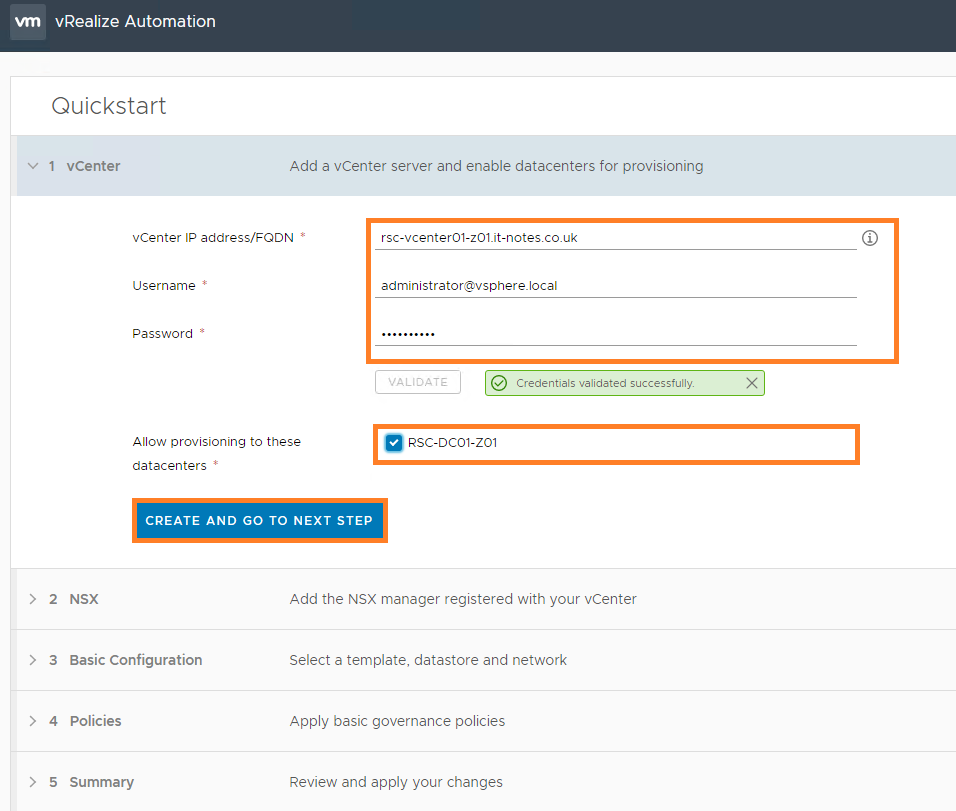
Enter credentials of your vCenter and choose DataCenter
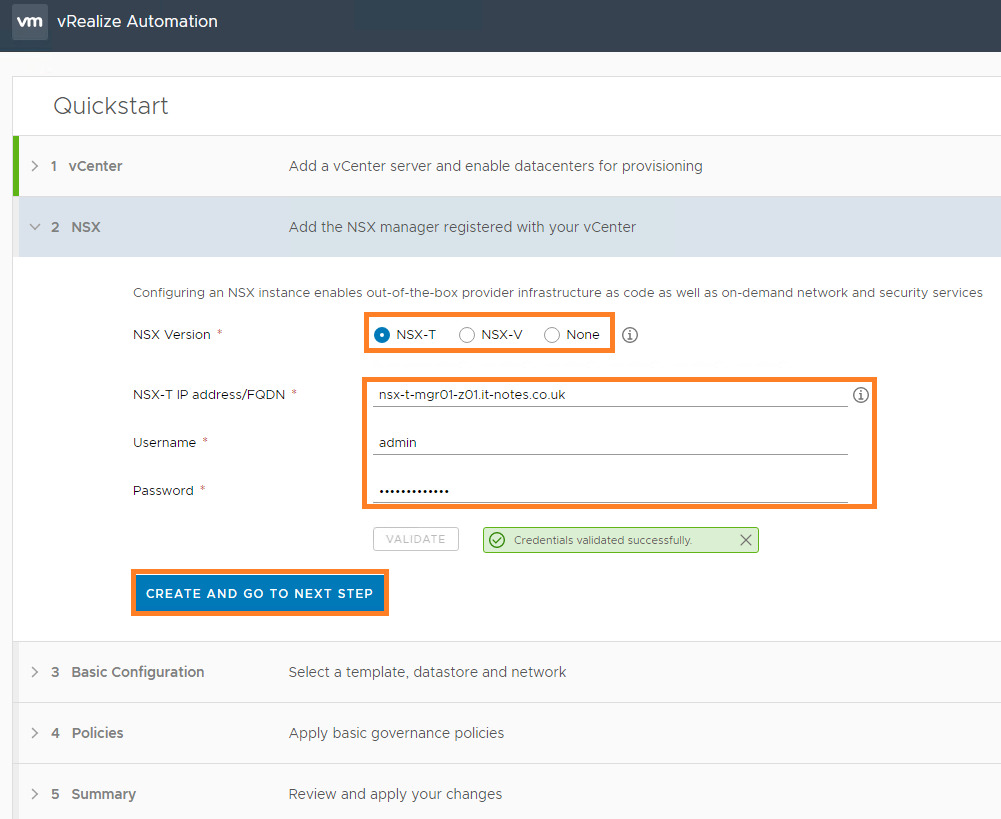
Enter credentials for your NSX-T (V) environment or just skip it:
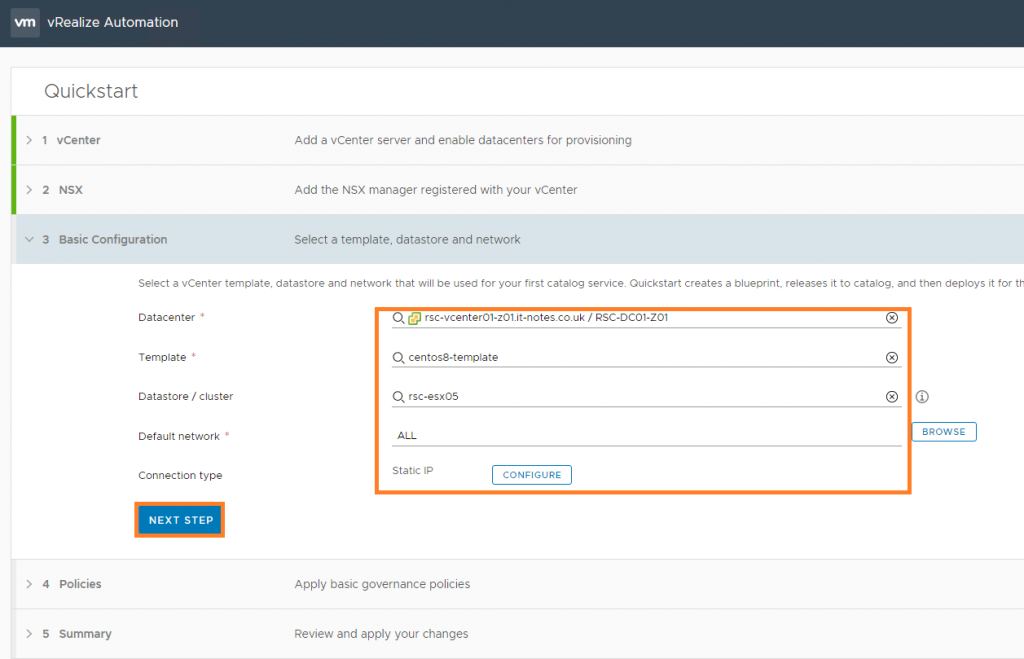
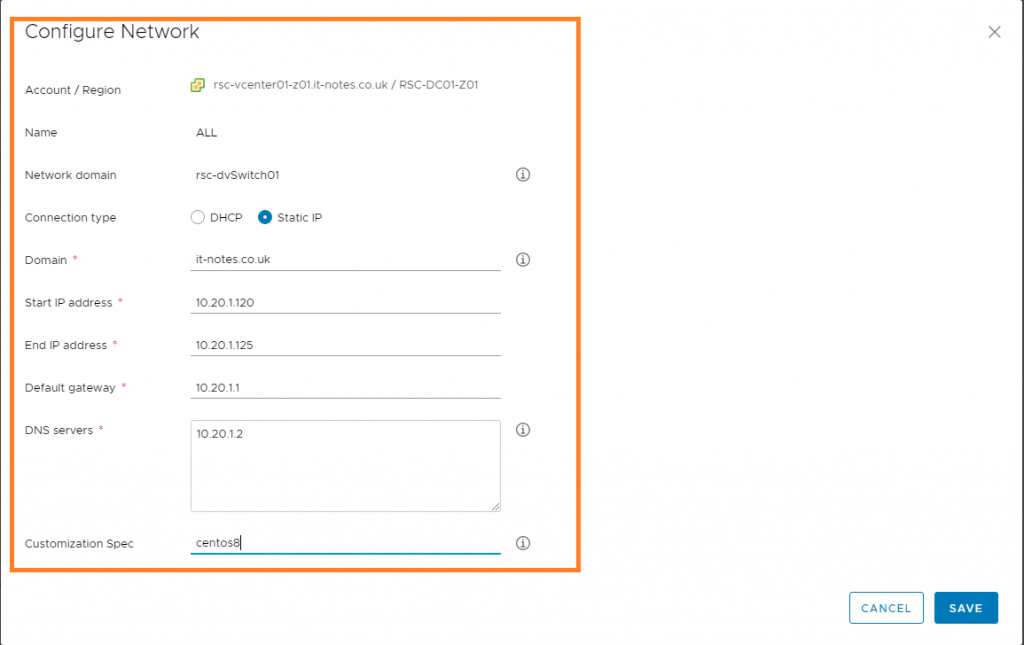
Choose the Cluster(stand-alone host in my lab) Network and Configure internal IPAM:
Lease/Naming.
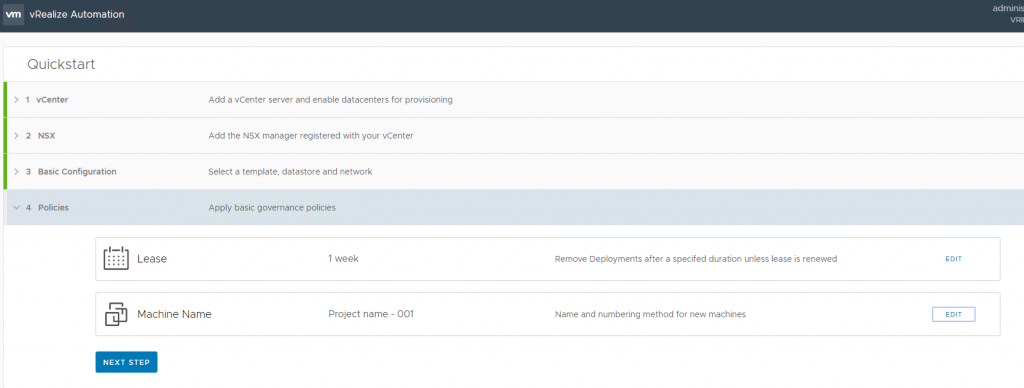
Press Complete

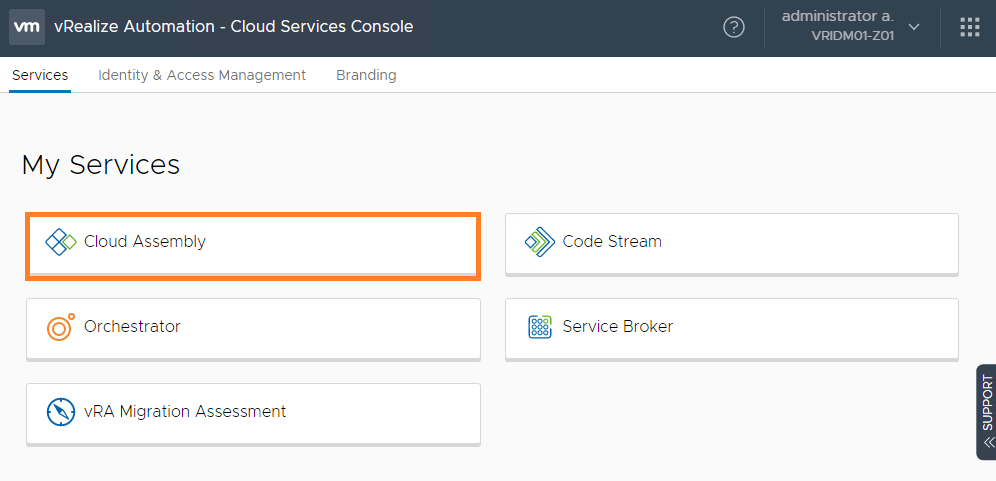
And now we get to Manual Part. In start Menu we choose Cloud Assembly for further infrastructure configuration:
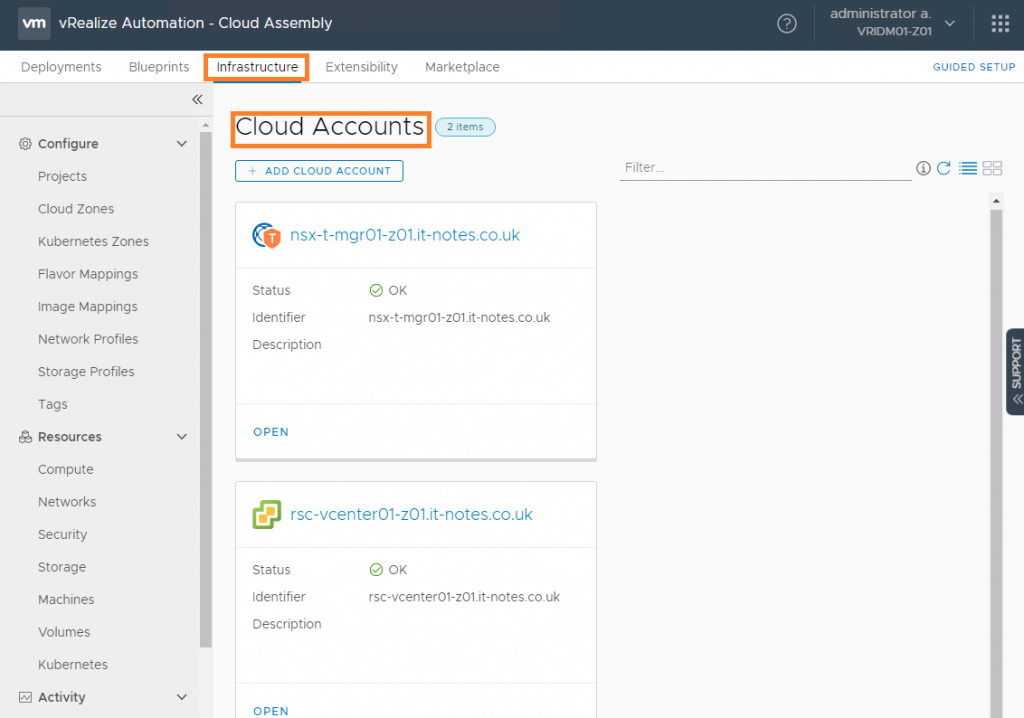
In Infrastructure -> Cloud accounts we configure our “Endpoints” (how it was named in v7)
In Infrastructure -> Cloud Zones we configure our “Reservations” (how it was named in v7)
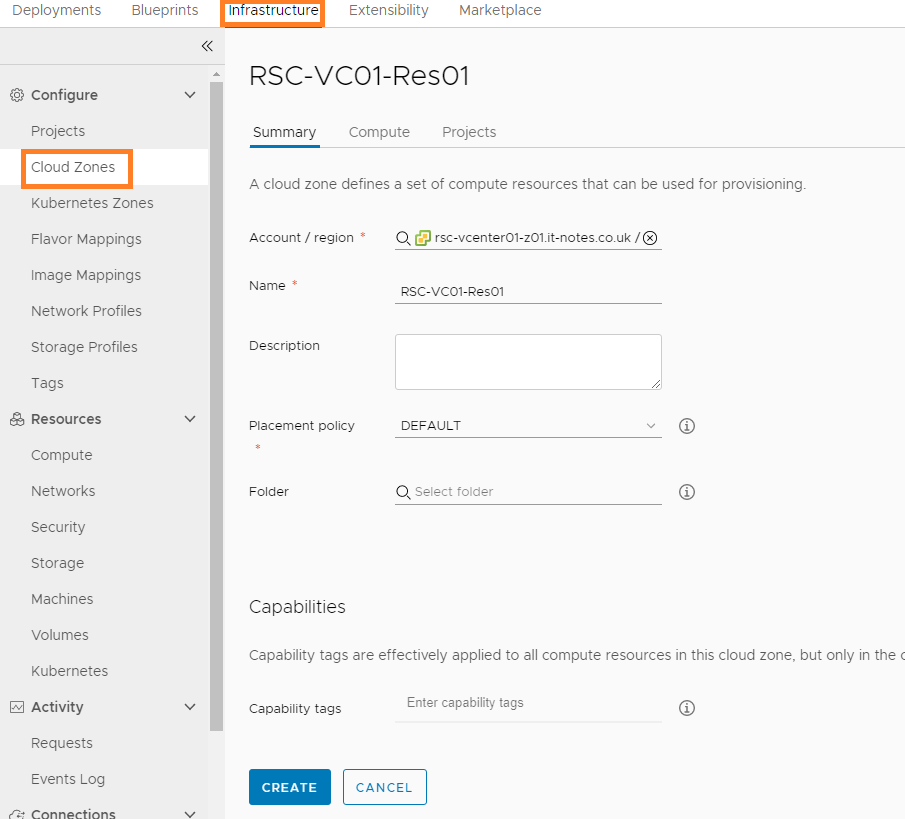
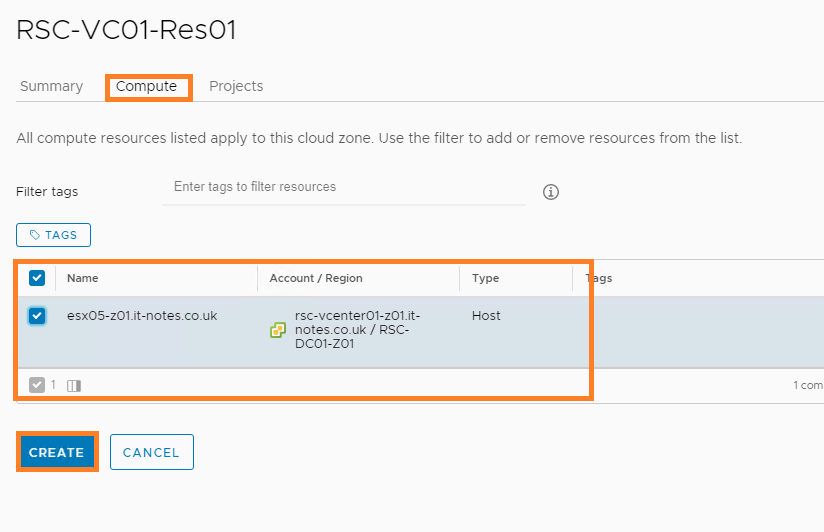
In Infrastructure -> Project we configure our “Business Groups” (how it was named in v7)
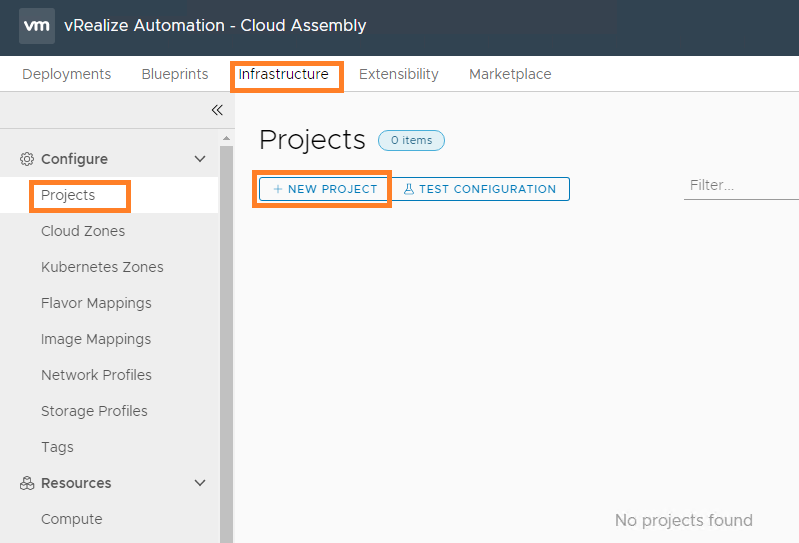
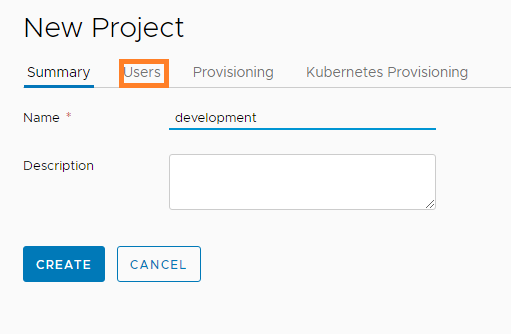
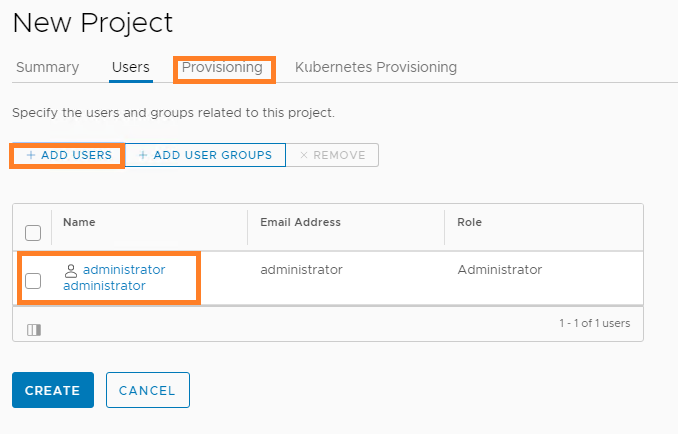
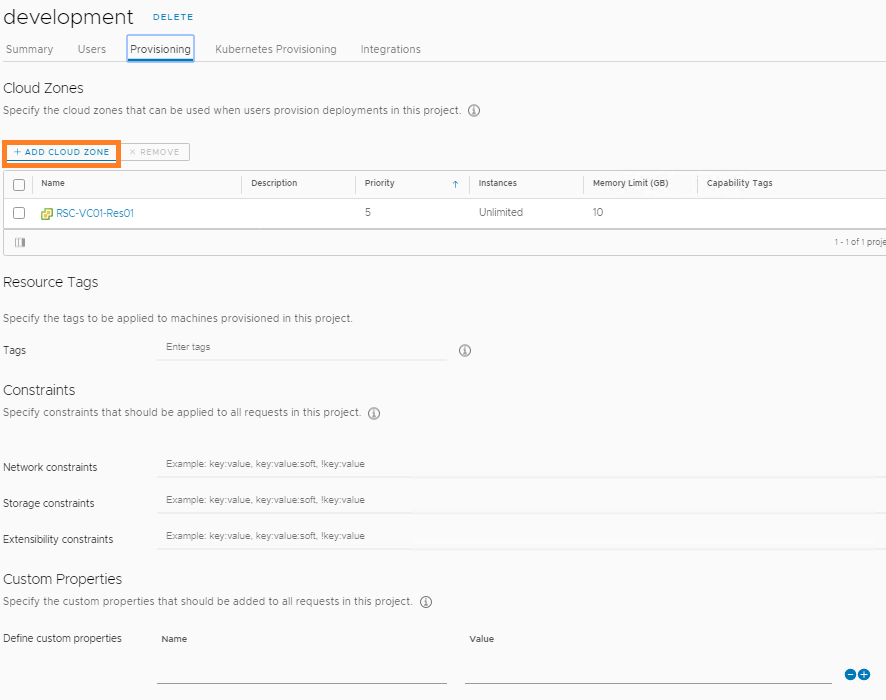
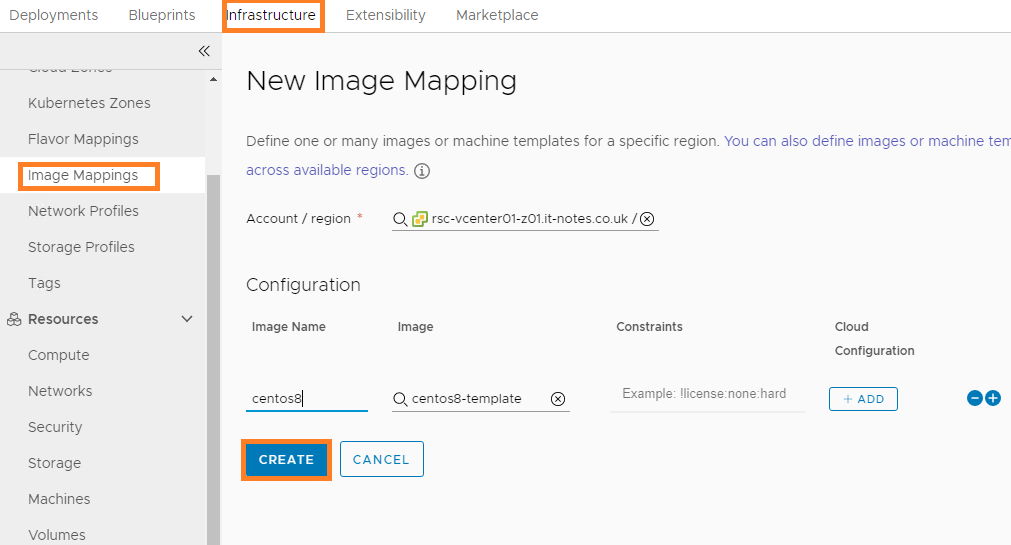
Image mapping maps our Templates
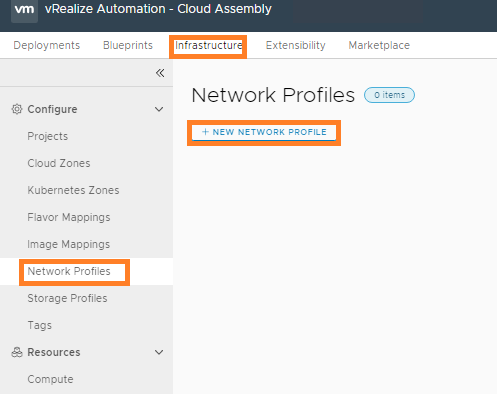
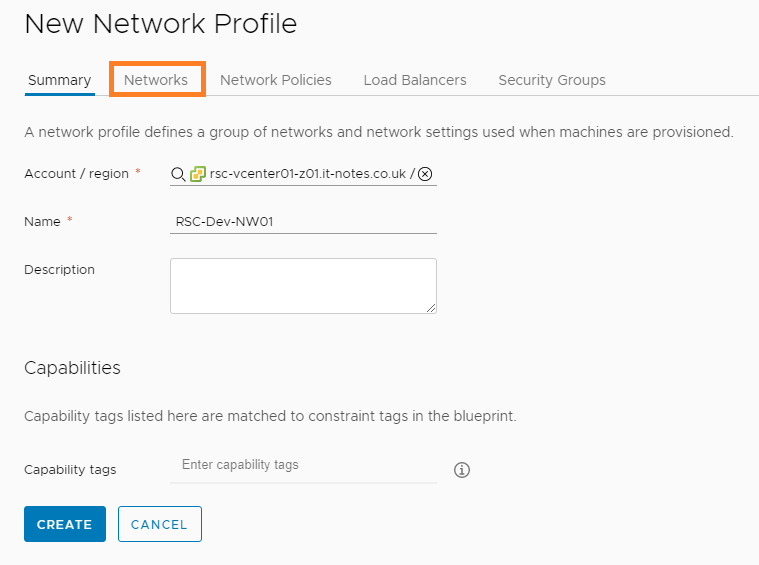
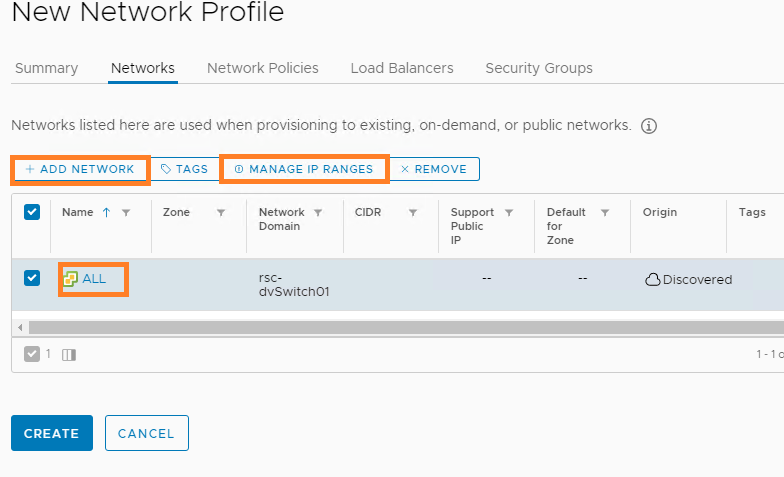
Configure Network Profile:
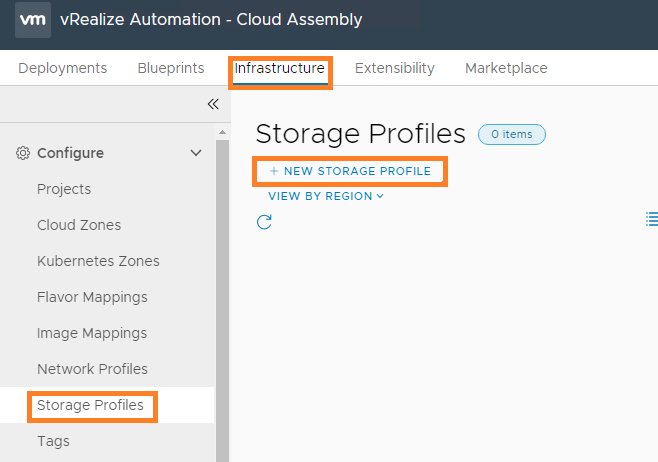
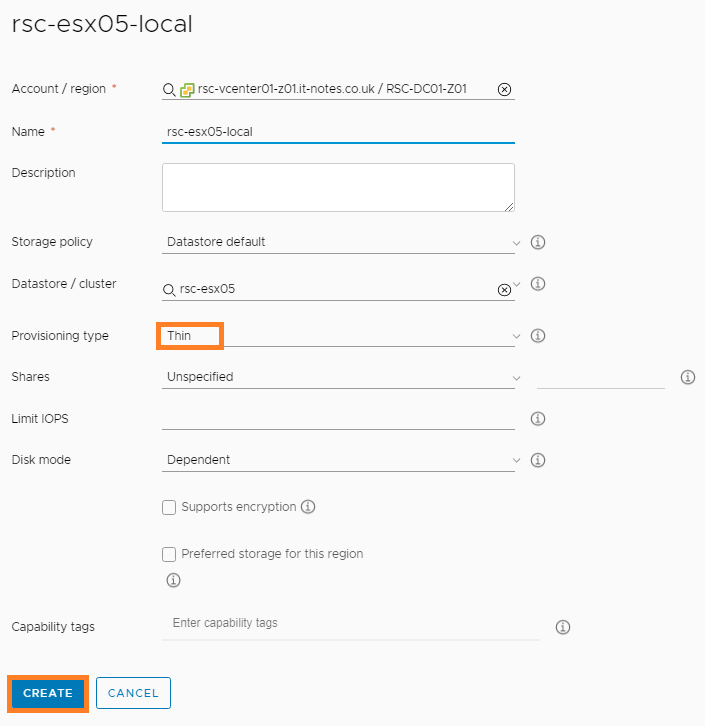
Configure Storage Profile:
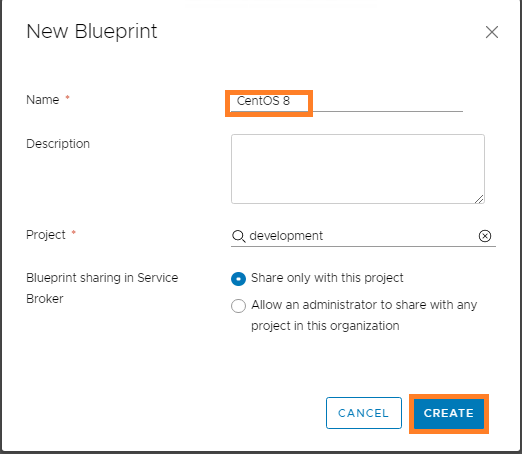
Finally we are ready to create our first BluePrint:

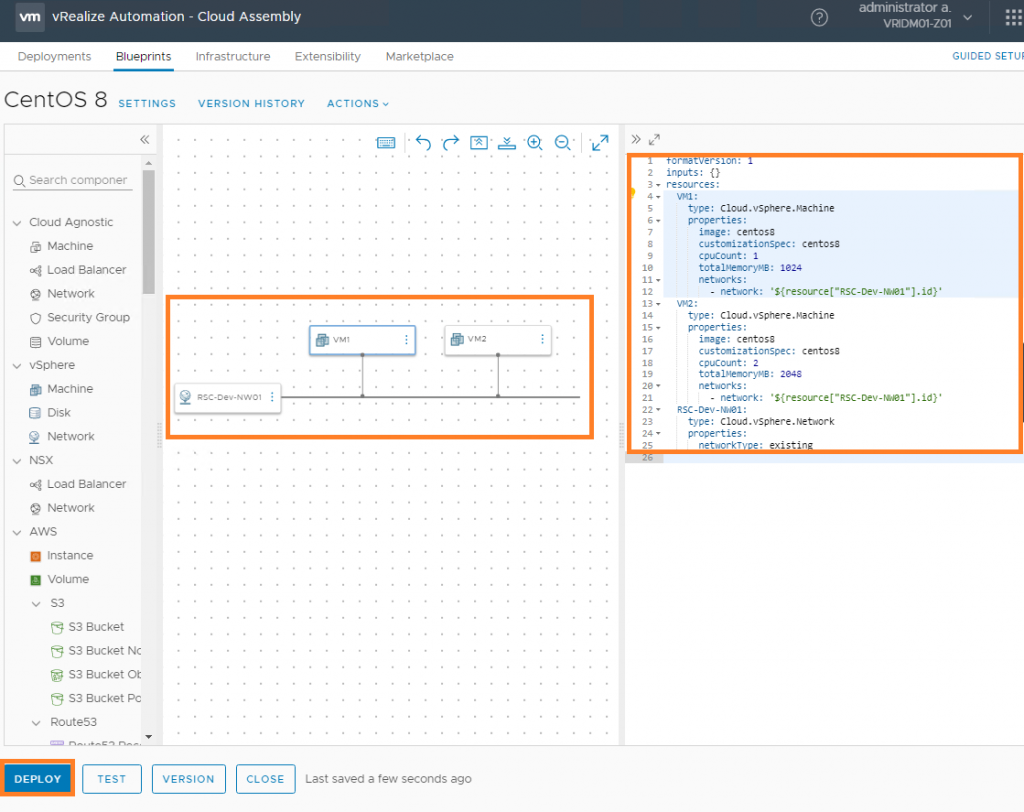
Now we shall build our Blueprints using YAML. when we done lets deploy it:
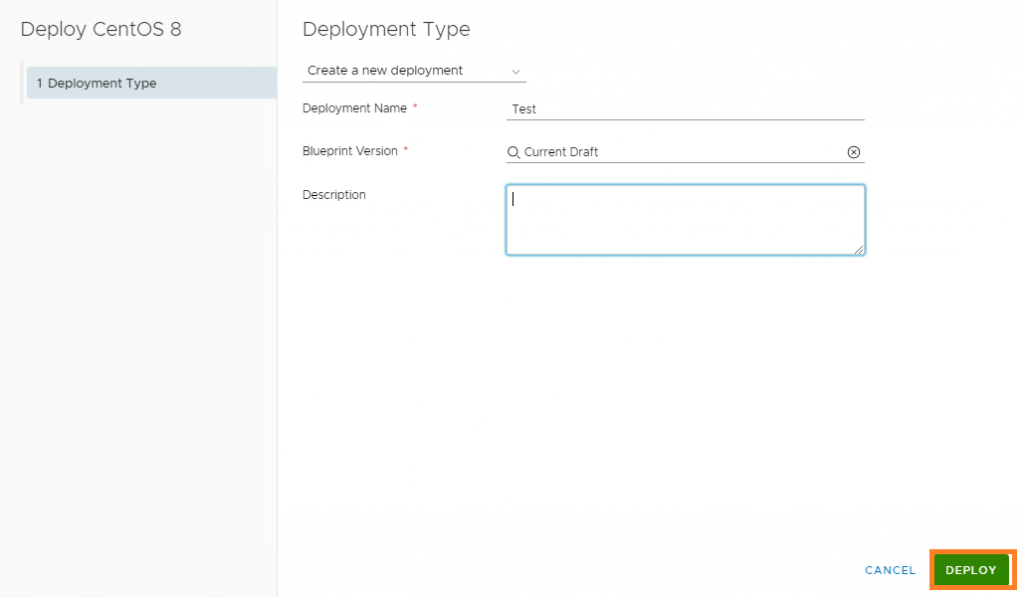
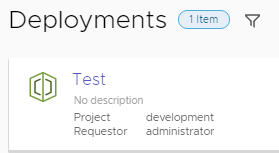
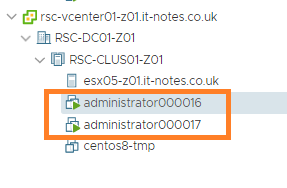
We can see that Deployment is in place and VMs are in vCenter:
Hope you enjoyed the article 🙂

Leave a Reply