Hi Guys, as i promised this article will be about preparing certificates for our vRA Enterprise Deployment.
Installation of AD Certification Services on MS Windows Server 2016
- Open Server Manager and select Add Roles and Features.

- Read the information and press Next.
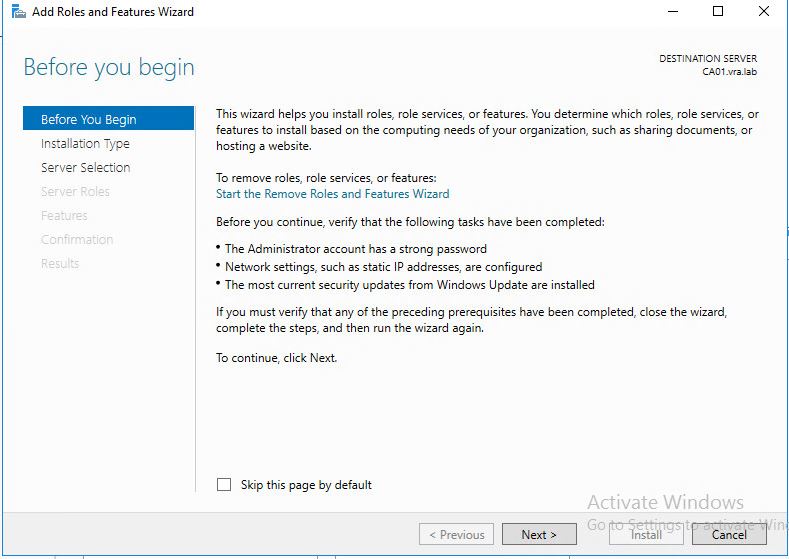
- Press next.
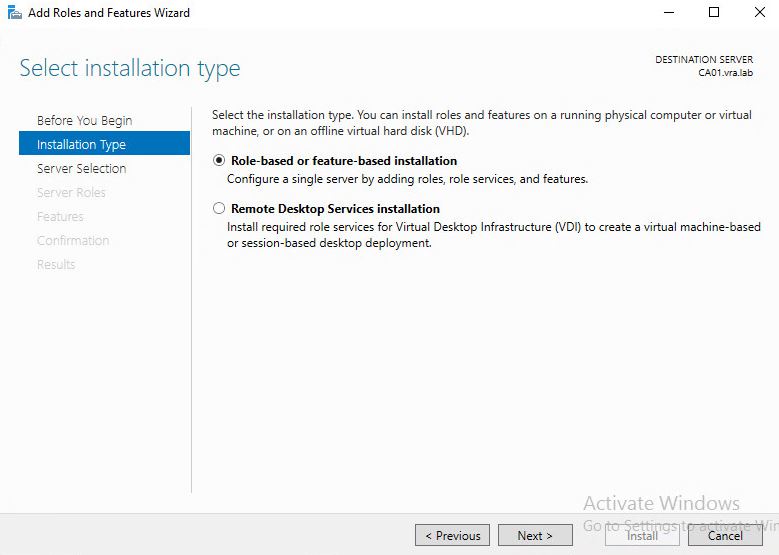
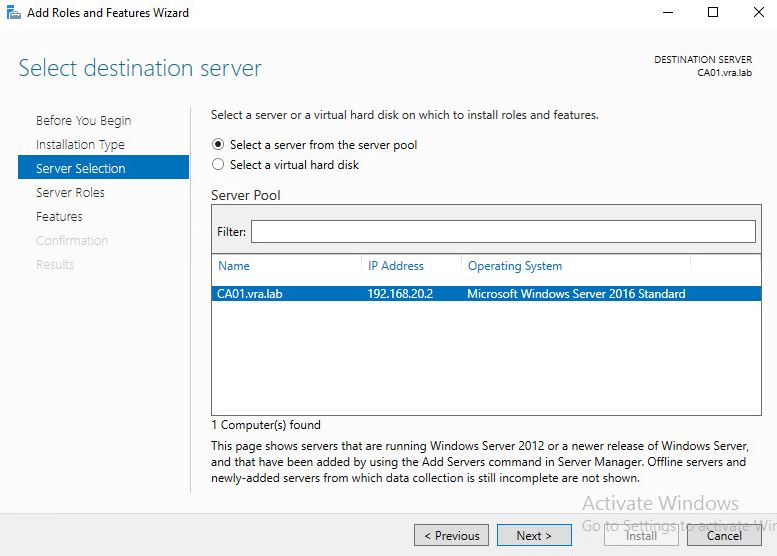
- Choose server and press Next
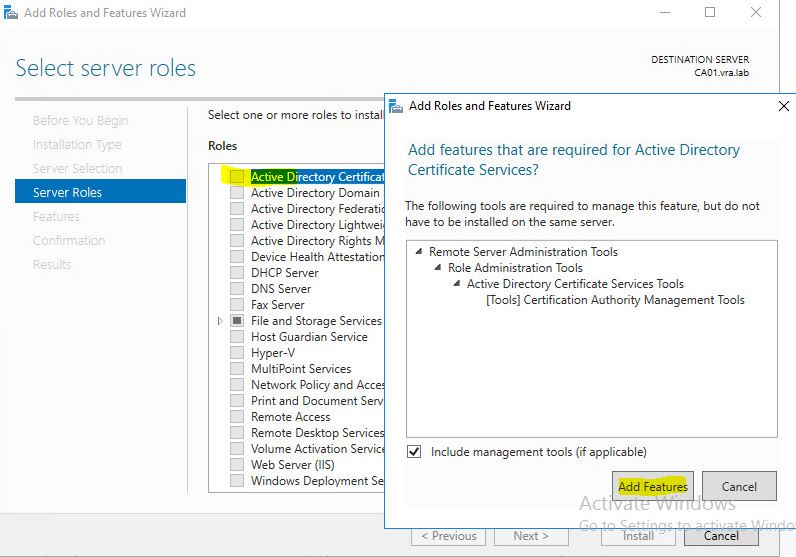
- Tick the box for AD CS and agree to Add Features. Press Next.
- We don’t need to select any additional features so just press next.
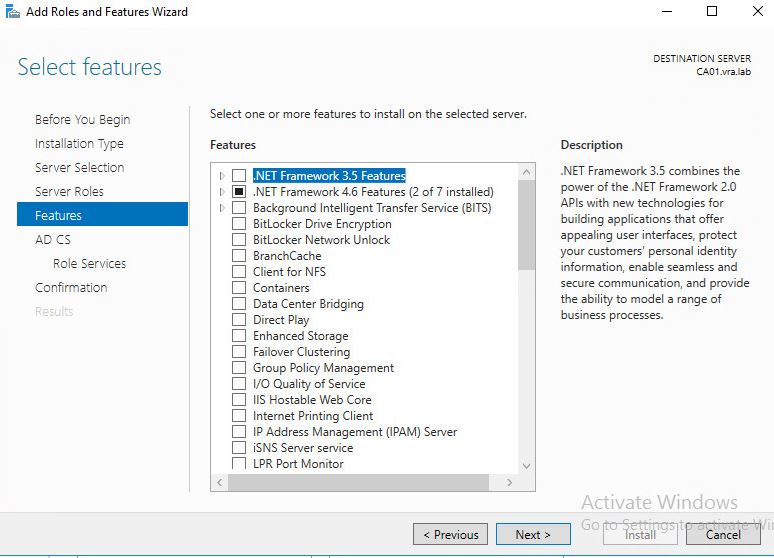
- Review the page of AD CS.
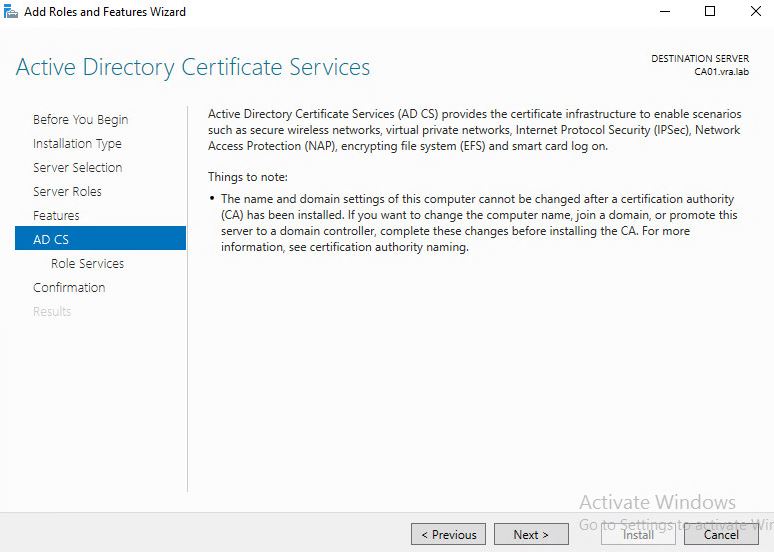
- Choose CA web enrollment in addition to CA. And add required features.
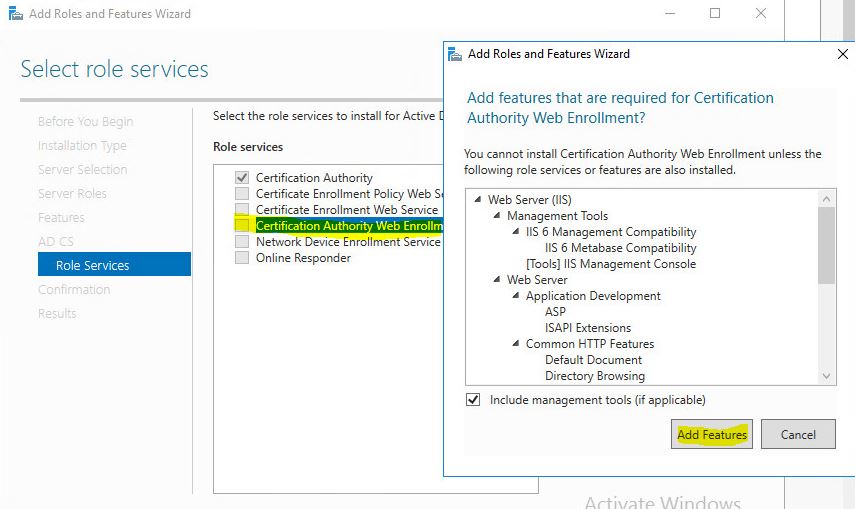
- As web enrollment require IIS we need to install services.
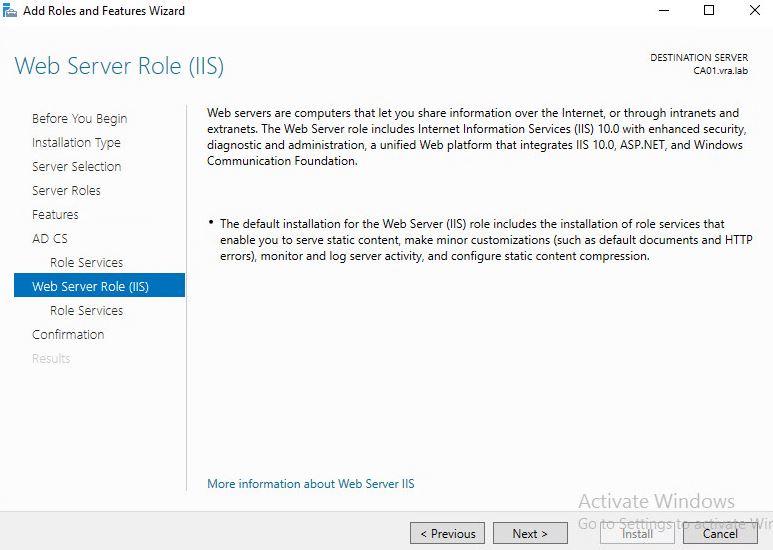
- Use default ones and press next.
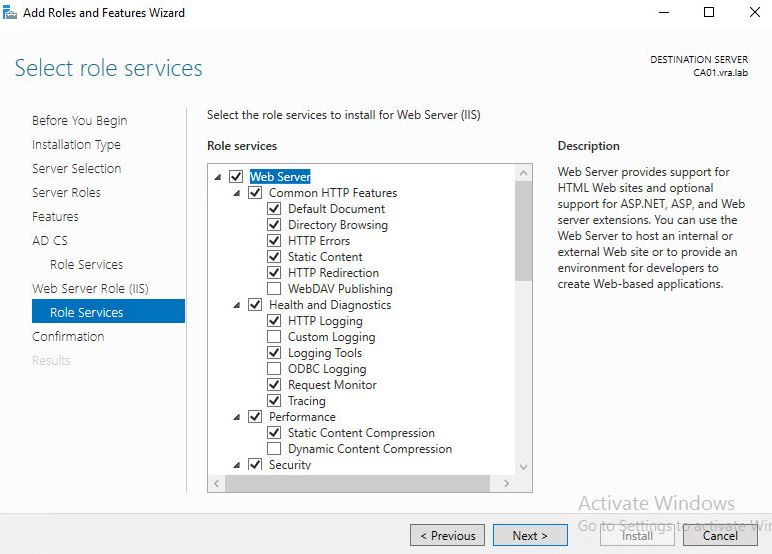
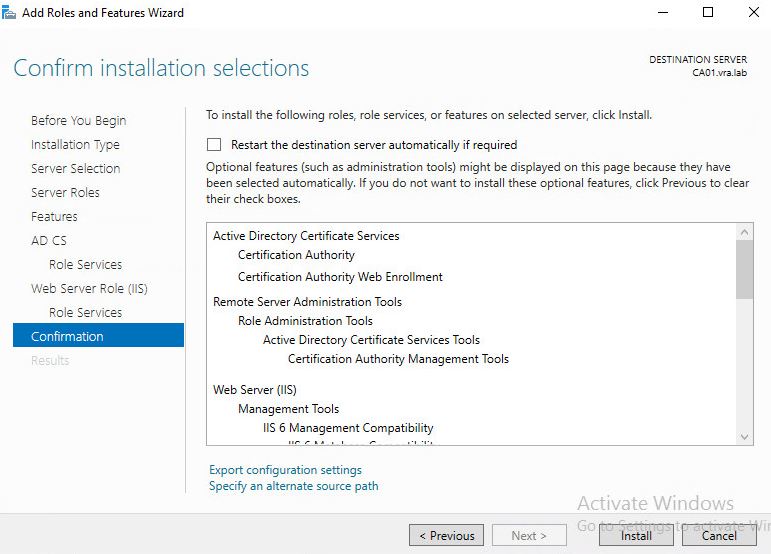
- Review the confirmation page and if everything is correct press Install.
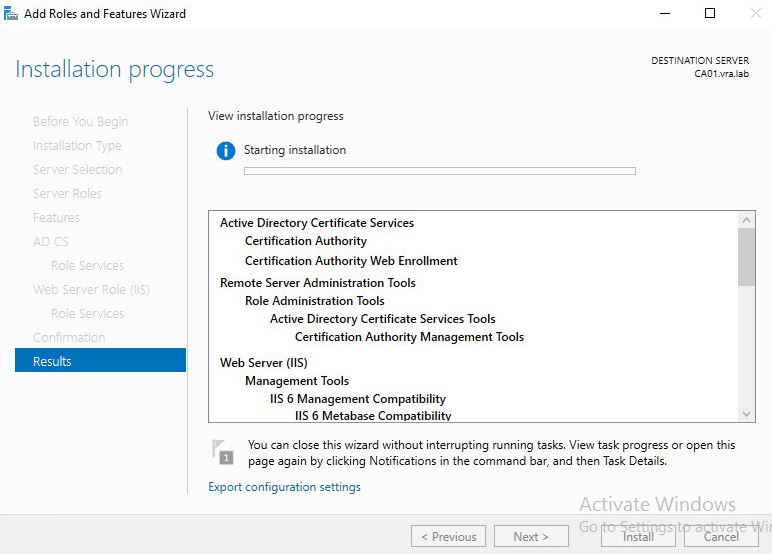
- Wait for some time while installation is running.
Configuration of AD CS
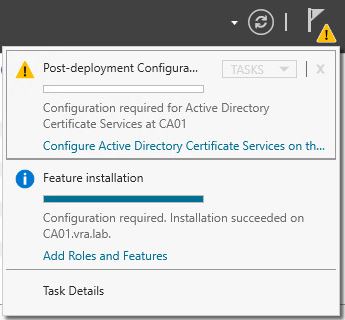
- After Installation completed we have to configure the role.
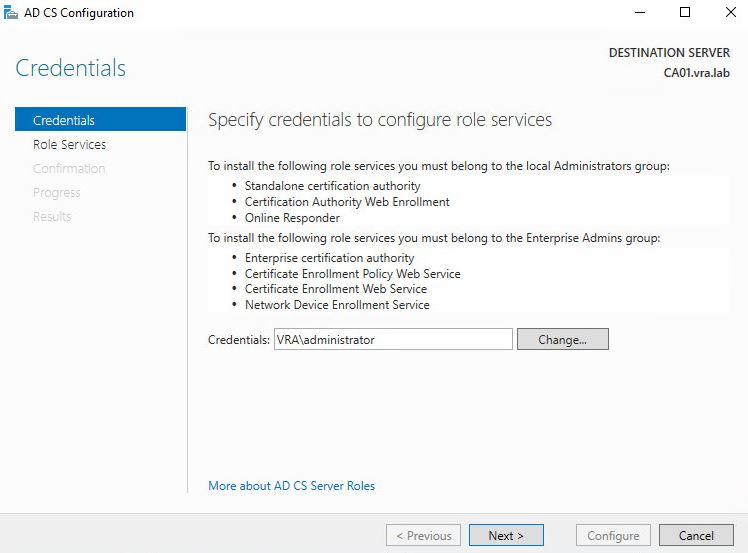
- Confirm the credentials and press Next.
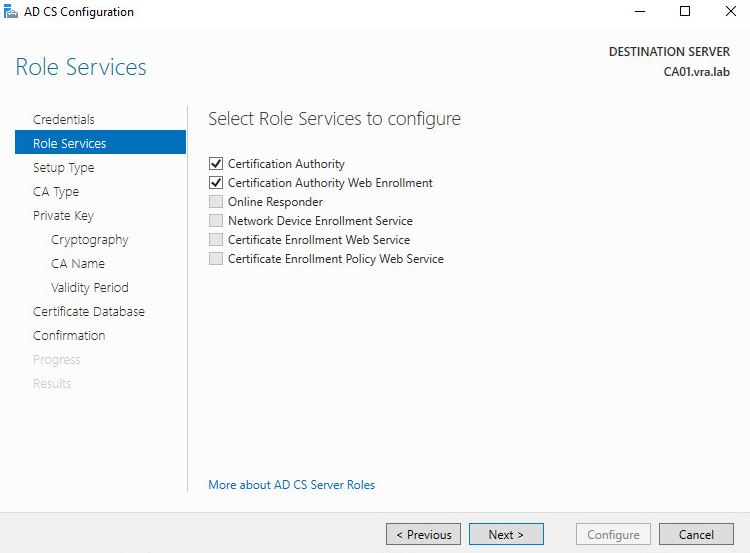
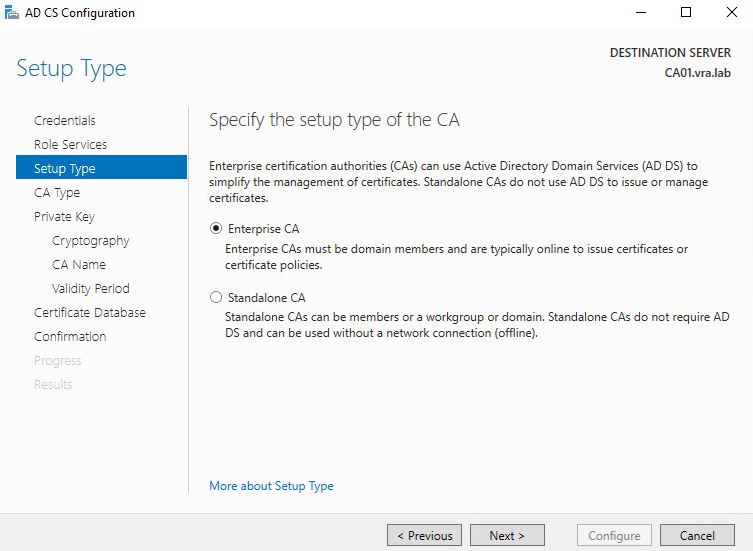
- Choose Enterprise CA
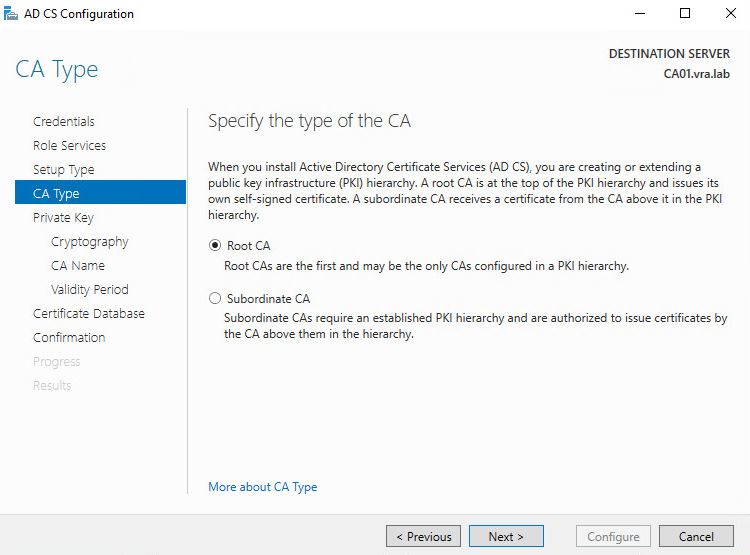
- As we don’t have it in our lab choose Root CA
- We shall create new Private Key
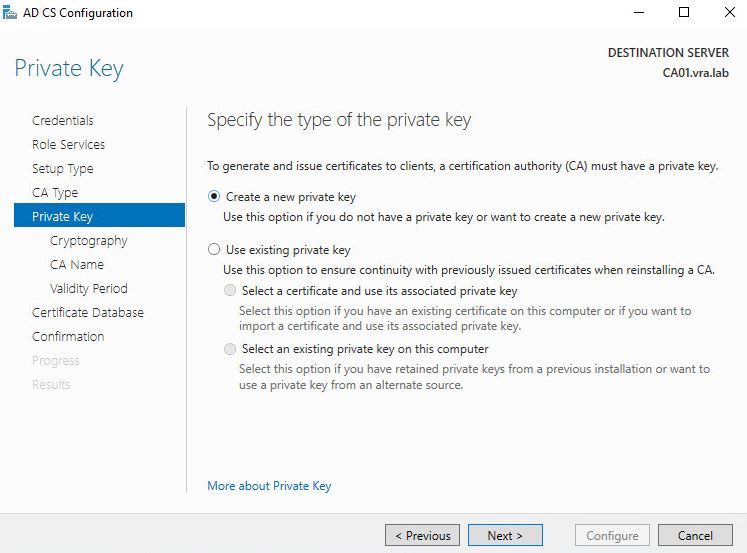
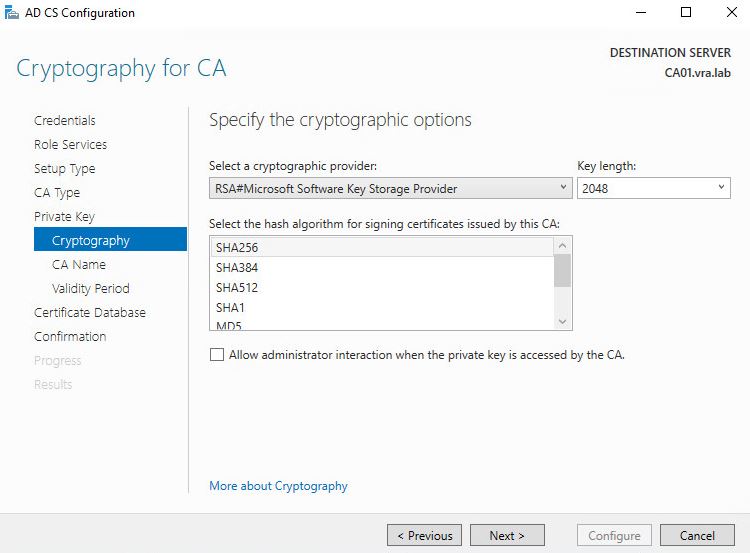
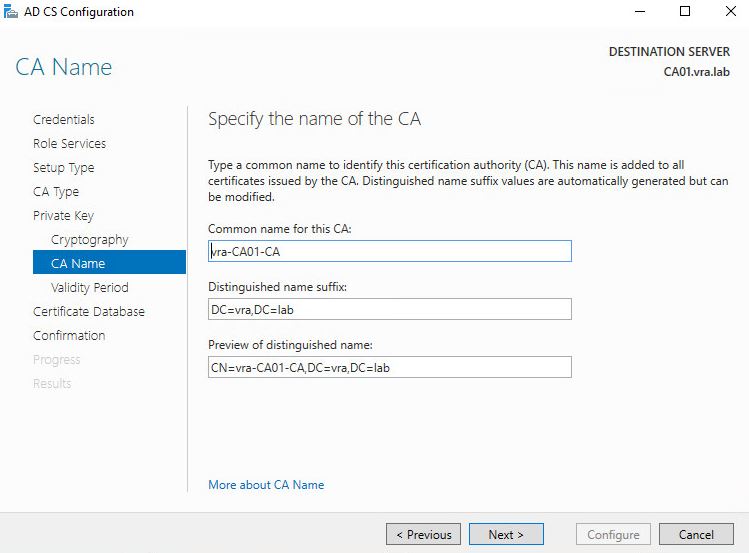
- I changed it to 5 years from 2
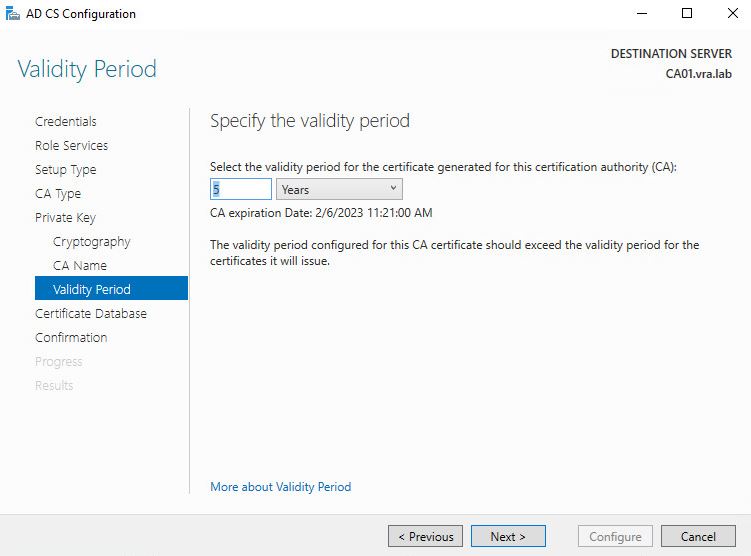
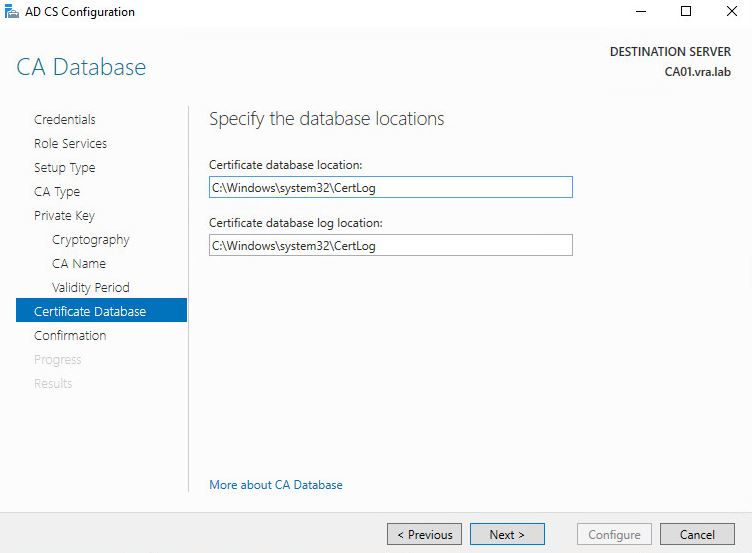
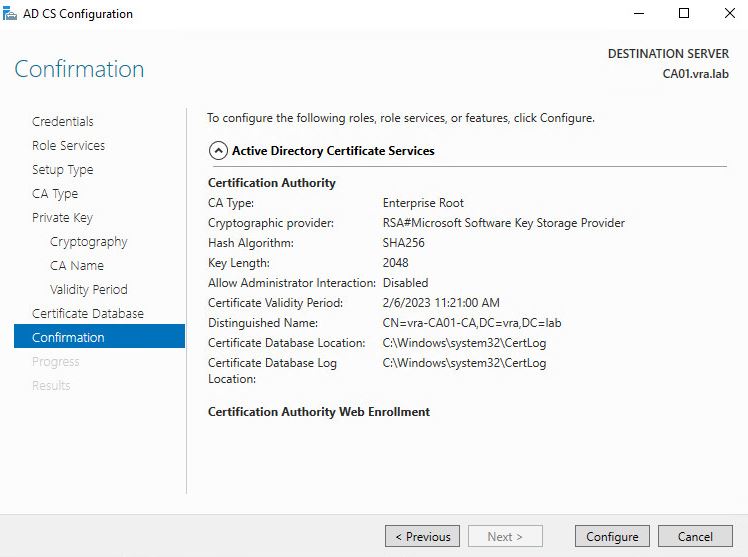
- Review the config and if everything is good go on with Confirmation.
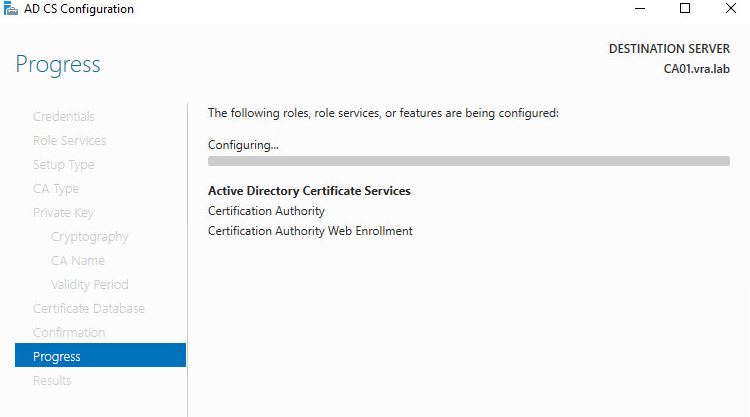
- Wait for configuration to complete
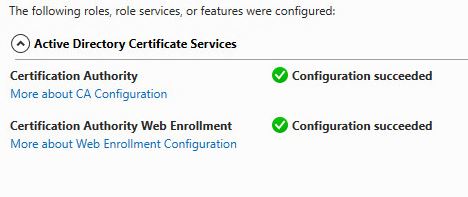
- Confirm that webpage is available
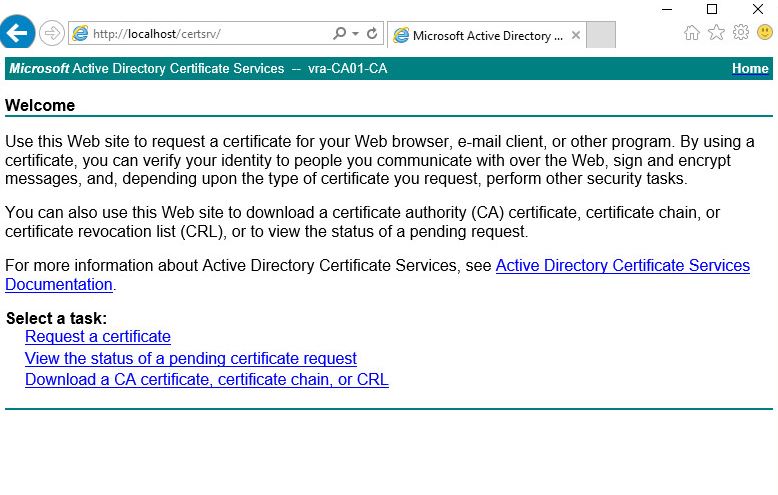
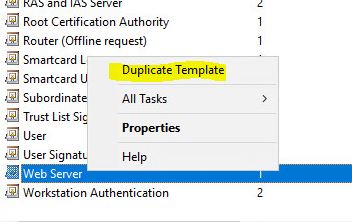
- Now we have to prepare our template for vSphere go to certtmpl.msc snapin and clone Web Server template.

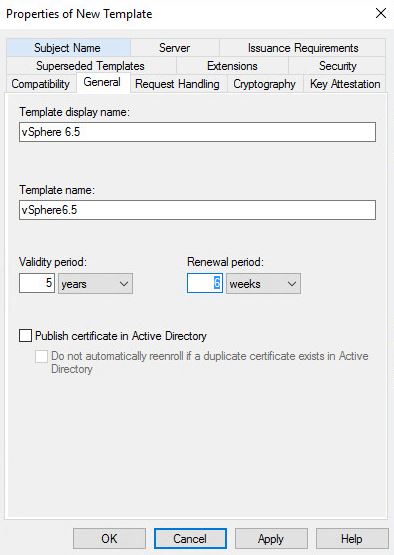
- Change the name
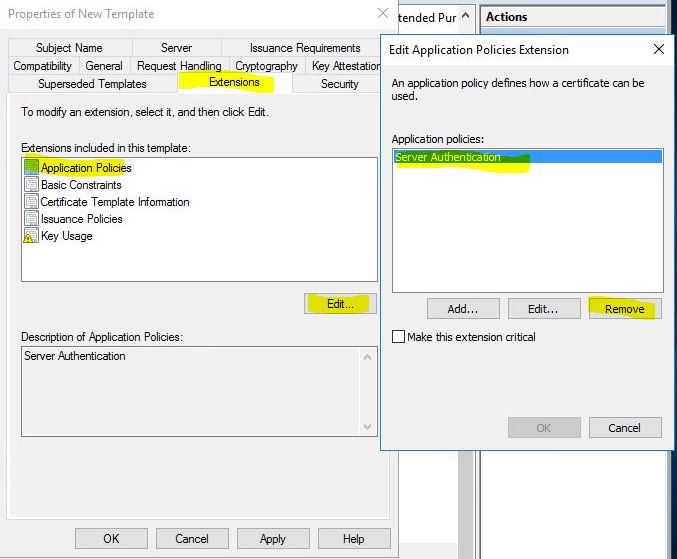
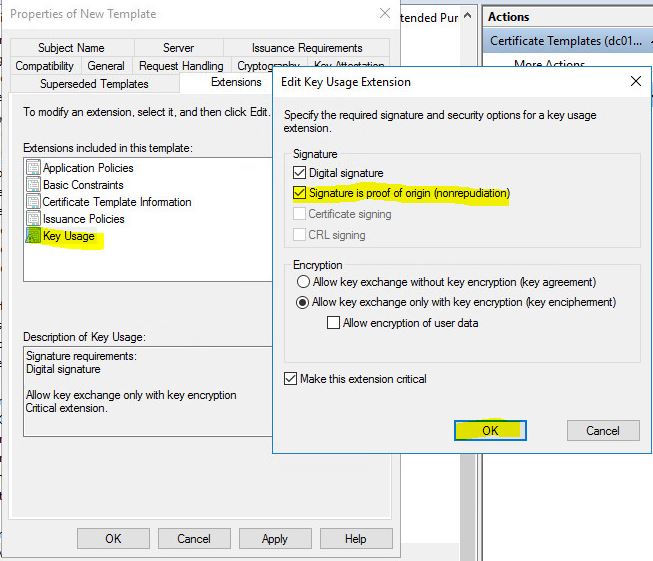
- Go to Extension tab choose to Edit Application Policies and remove everything press OK. Go to Key Usage and use check box Signature is proof of origin. Press OK.
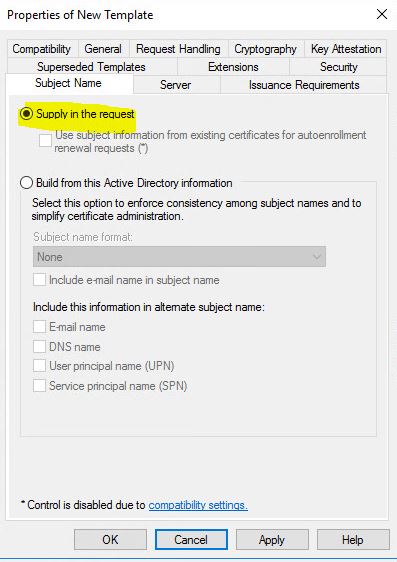
- Confirm that you have Subject Name Supply in the request. Press Apply and OK.
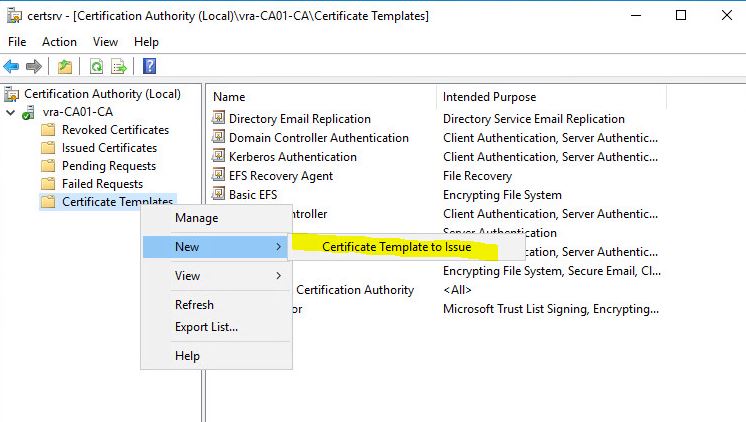
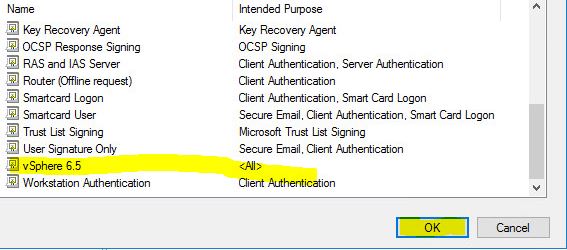
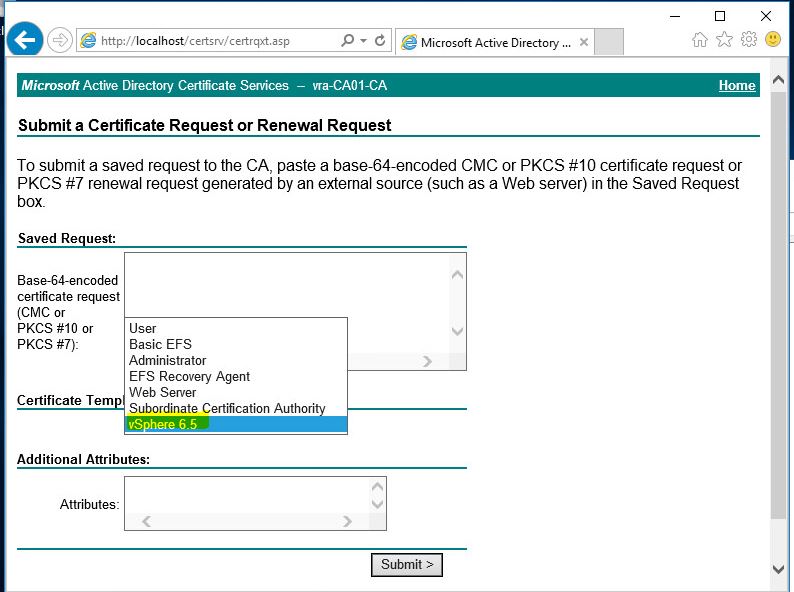
- Go to certsrv.msc snap-in and go to Certificate Templates (rigt-click) ->new->certificate template to issue. Find our vSphere 6.5 template and press OK. Confirm that you can see the template on the web page.

Creating certificates for vRA
- Login to Linux machine and create a similar config file. I’ve called it vra.cfg
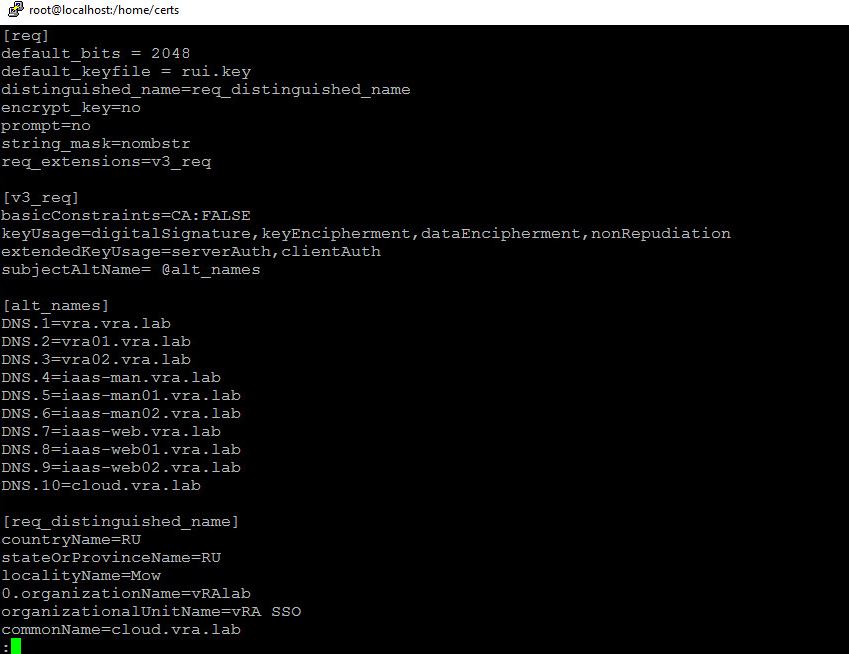
- Create CSR request and save the private key. You will have 4 files in the folder.
openssl req -new -nodes -out req.csr -keyout req-orig.key -config conf.cfg
 openssl rsa -in req-orig.key -out req.key
- Copy the CSR file data and paste it into CSR request in browser (caaddress/certsrv/certqxt.asp) and choose vSphere 6.5 template which we created previously.
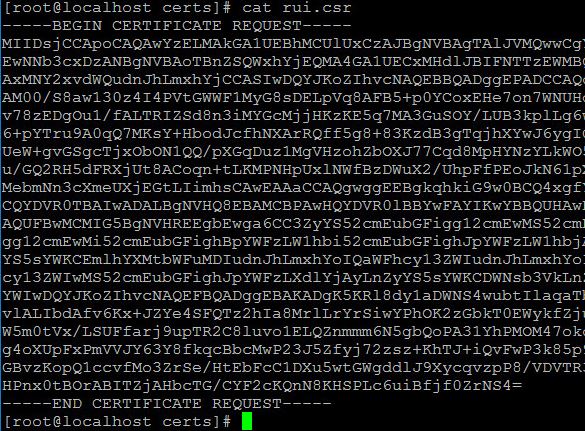
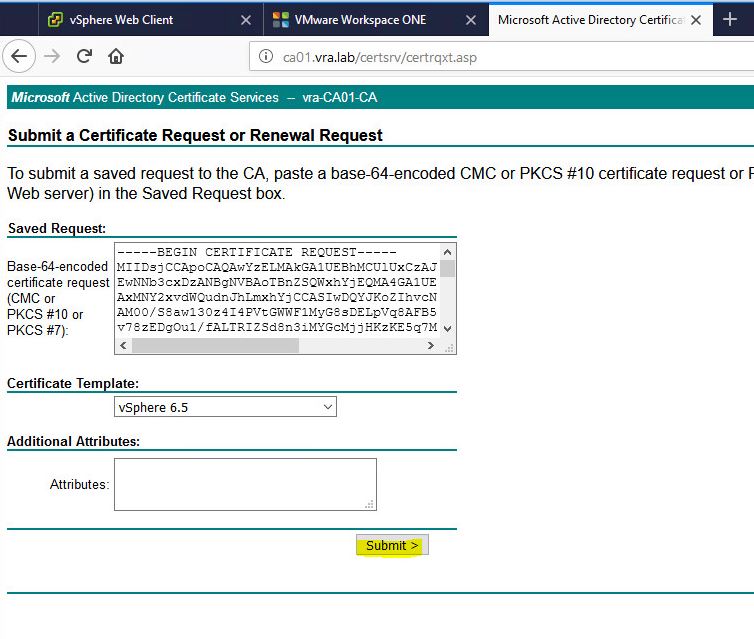
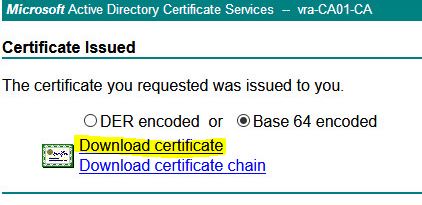
- Download the certificate Base 64 encoded and copy it to the Linux machine where you created the request.

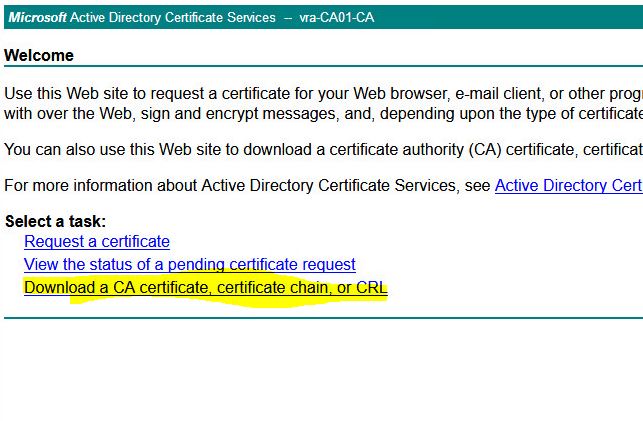
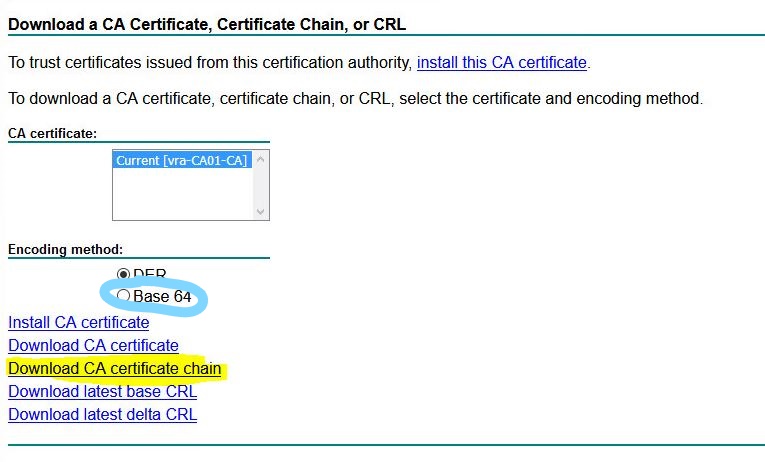
- Press home button – Download a CA certificate, certificate chain, or CRL. and choose Base 64. Download CA certificate chain.

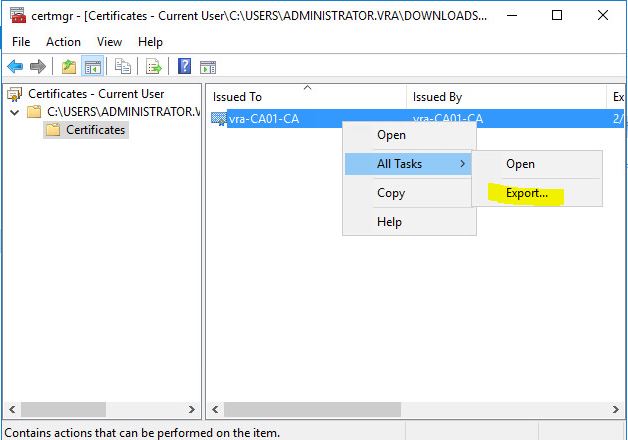
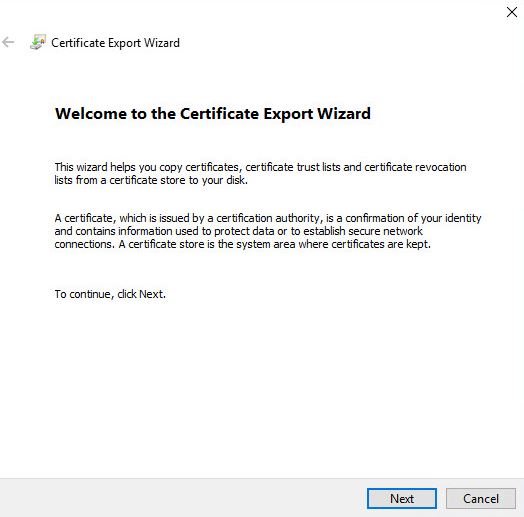
- Open the certificate and choose export
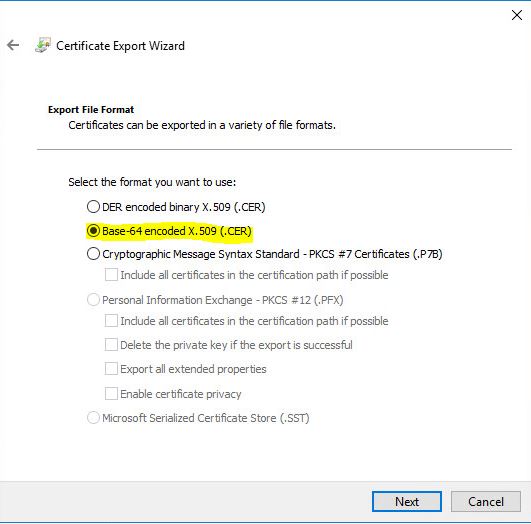
- As usual choose Base-64
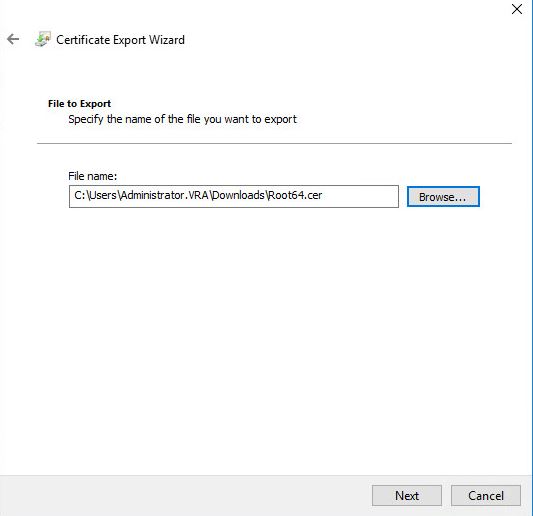
- Choose the path for the certif
- Confirm and press Finish
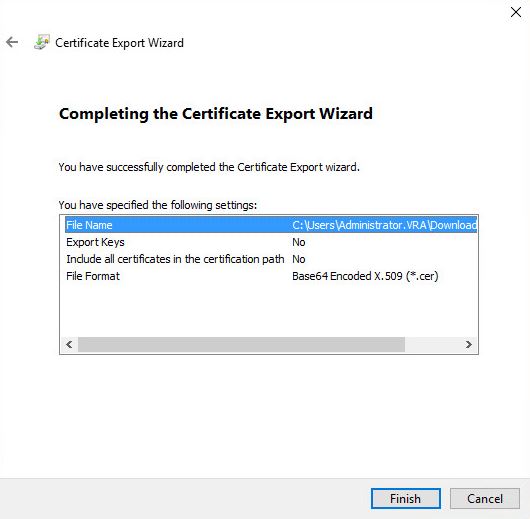
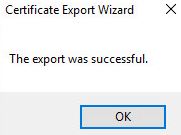
- Export successful. Transfer it to Linux machine where you made original request

- Export certificate to pfx.
openssl pkcs12 -export -in req.cer -inkey req.key -certfile Root64.cer -name "somename" -passout pass:somepassword -out req.pfx

- Create .pem certif.
openssl pkcs12 -in req.pfx -inkey req.key -out req.pem -nodes

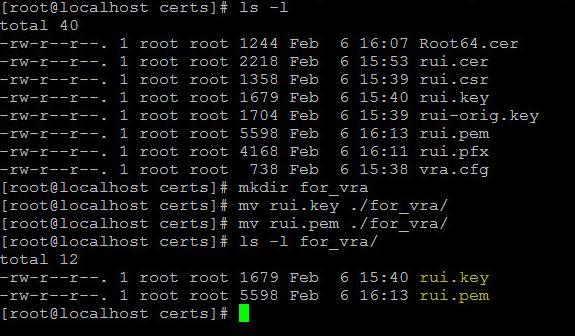
- We have 2 files rui.pem and rui.key which we will need in further installation of vRA
Thank you for reading, Next article will be regarding vRA deployment itself.

Leave a Reply