Hi Folks,
One more article for today. This one is mostly for customers who never seen how interface looks 🙂
To Create New VM from pre-created template you need to do the following tasks:
- Login to the vCloud Web Interface.
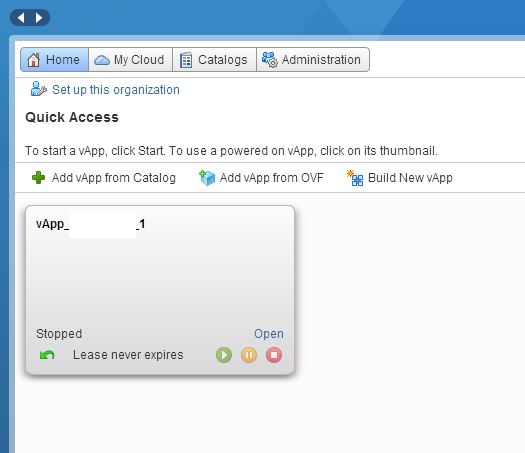
- Get To the vApp where you want to create VM by pressing Open
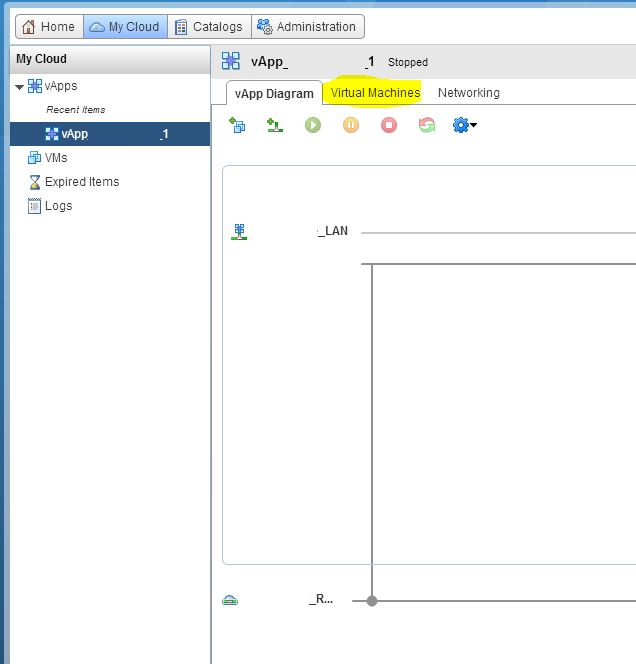
- Choose the Virtual Machines Tab
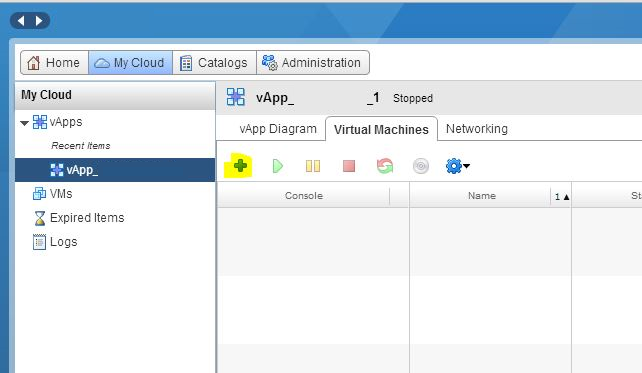
- Press on “+” sign
- The new Tab will open. Choose the required template and press Add
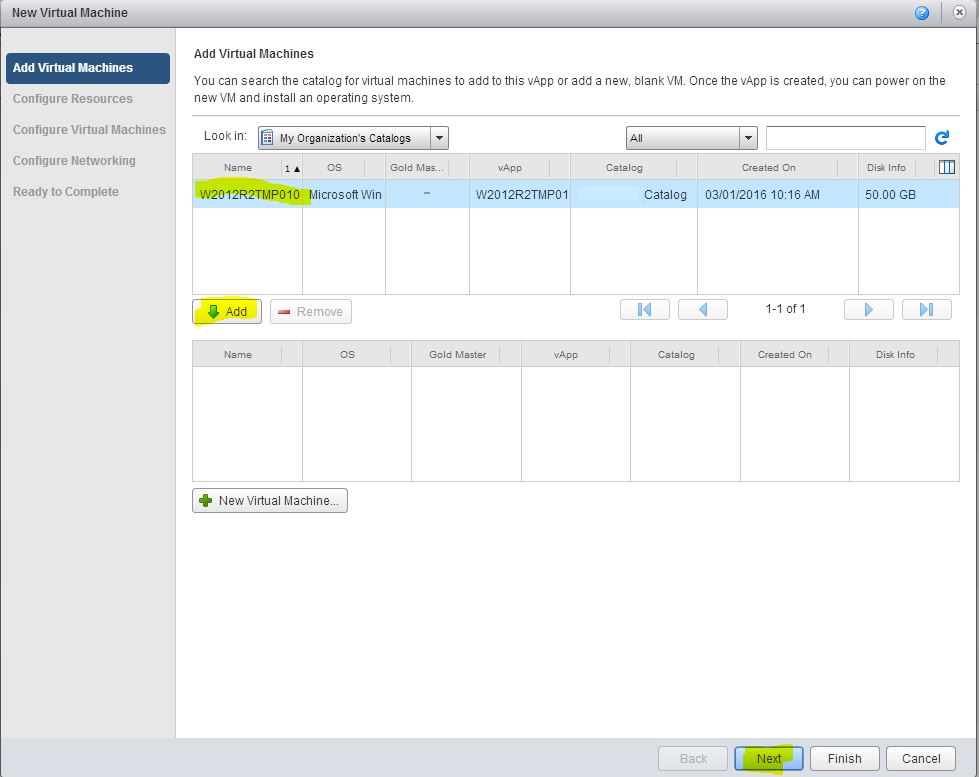
- Template will become visible in the bottom menu. Press Next
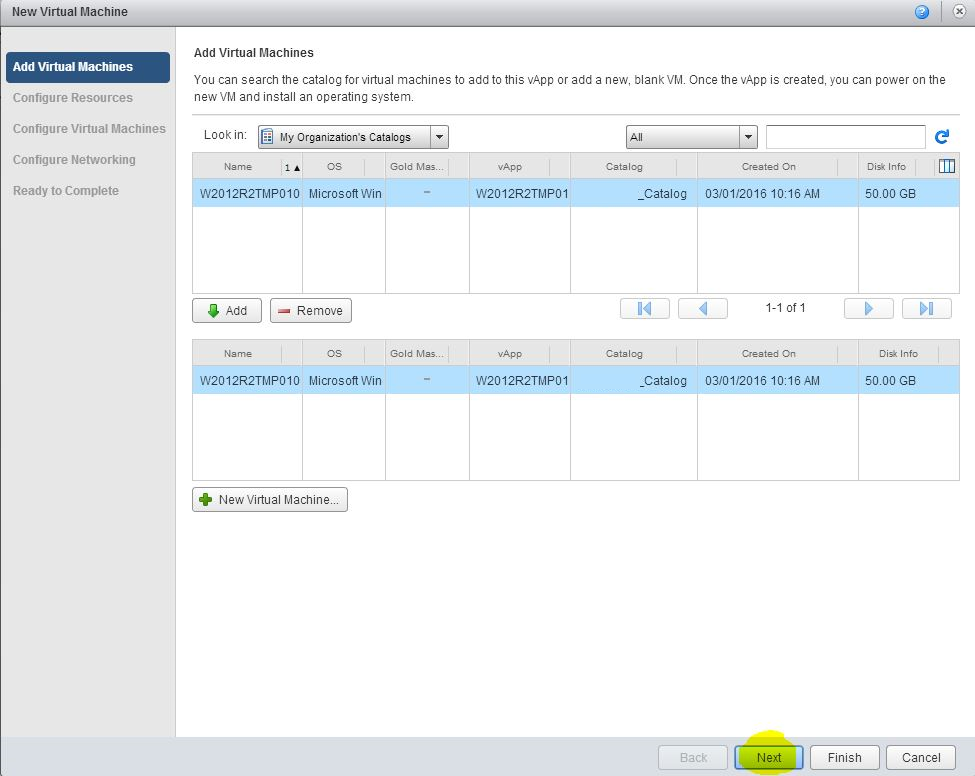
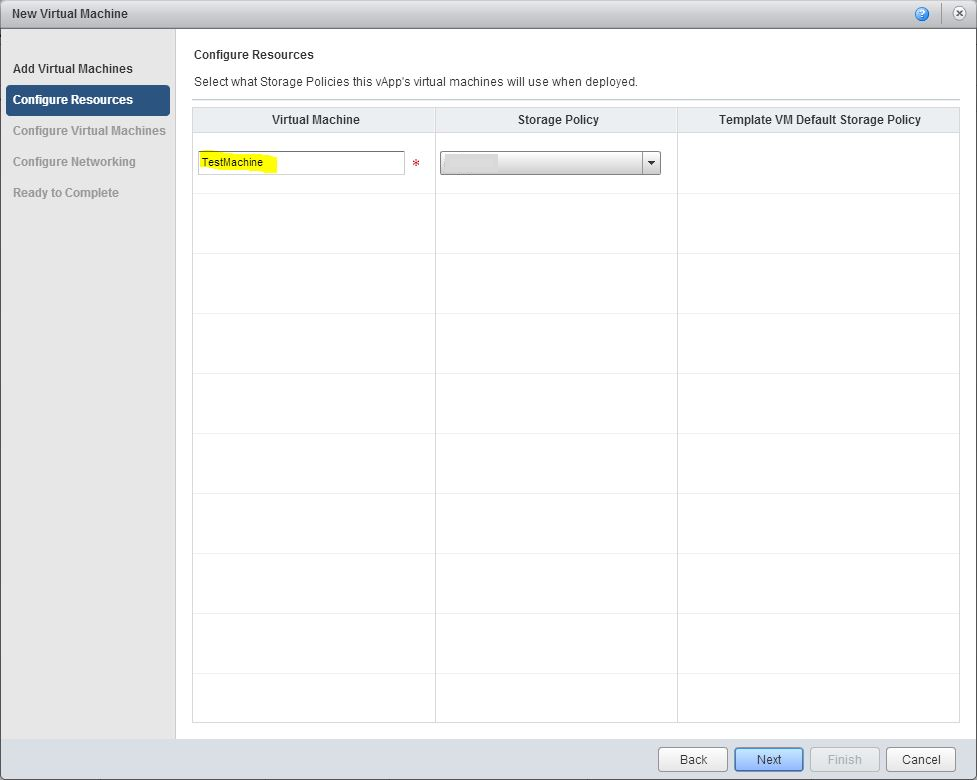
- Choose the VM name (this name is applied only inside of vCloud Interface)
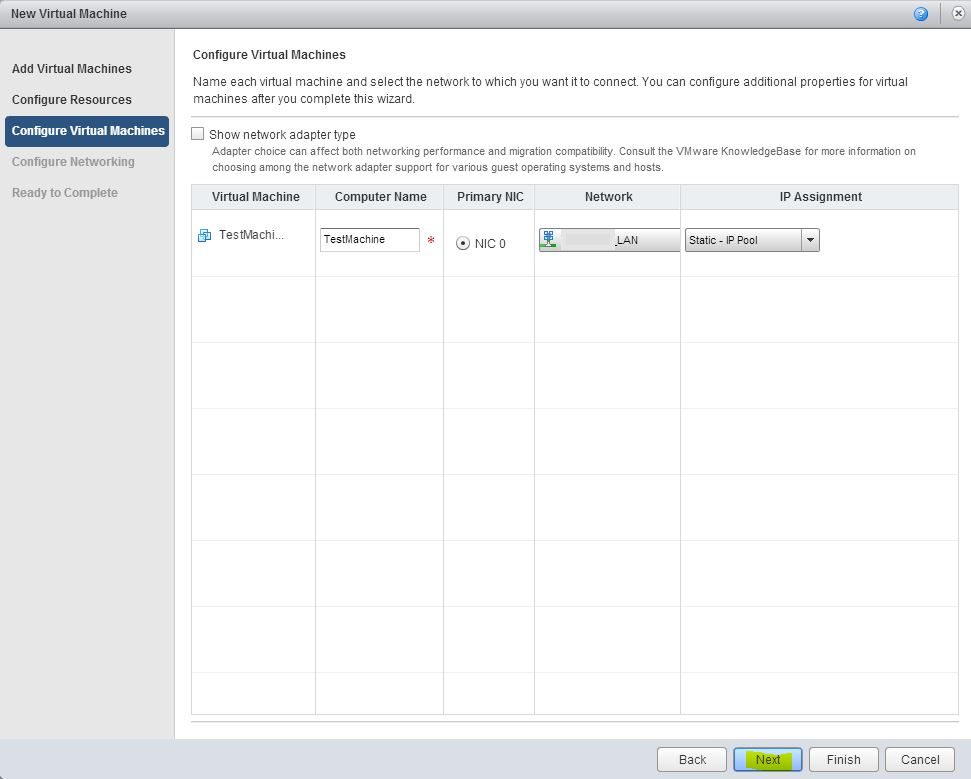
- Choose the VM name (during recustomization task this name will be written as Computer name inside Windows system) Choose Network you want to use and type of IP assignement Static – IP pool -automatic IP assignment (stays static). Static-Manual – Manually enter the IP address.
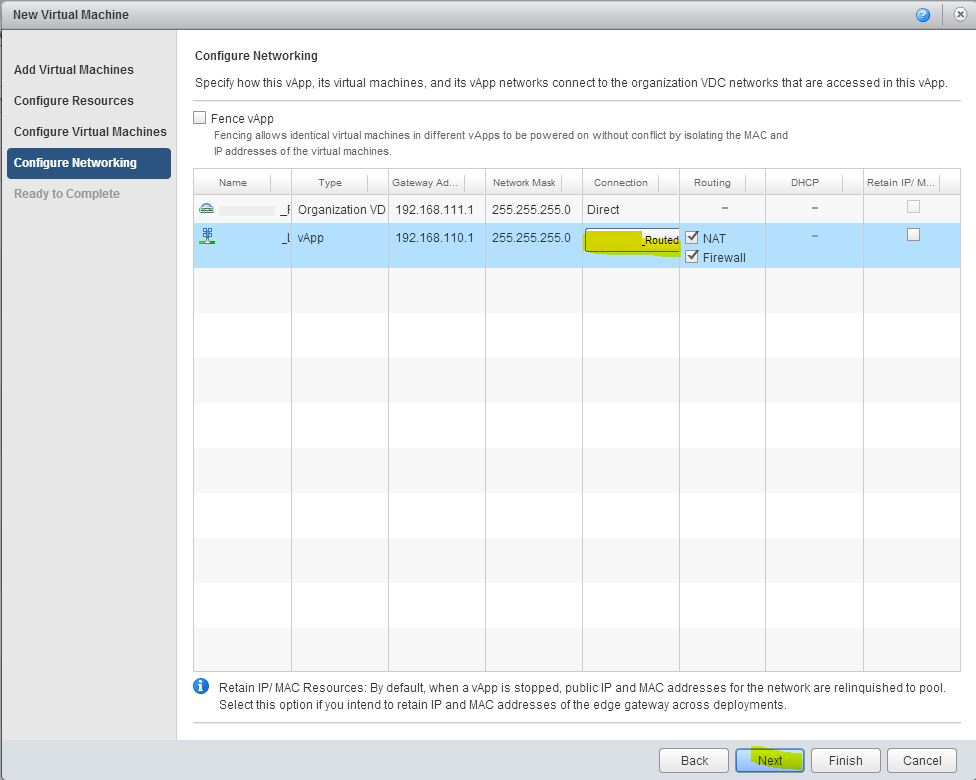
- Configure Networking, If you need this machine go from isolated network to Internet you can choos connection to vRouter (with NAT and Firewall)
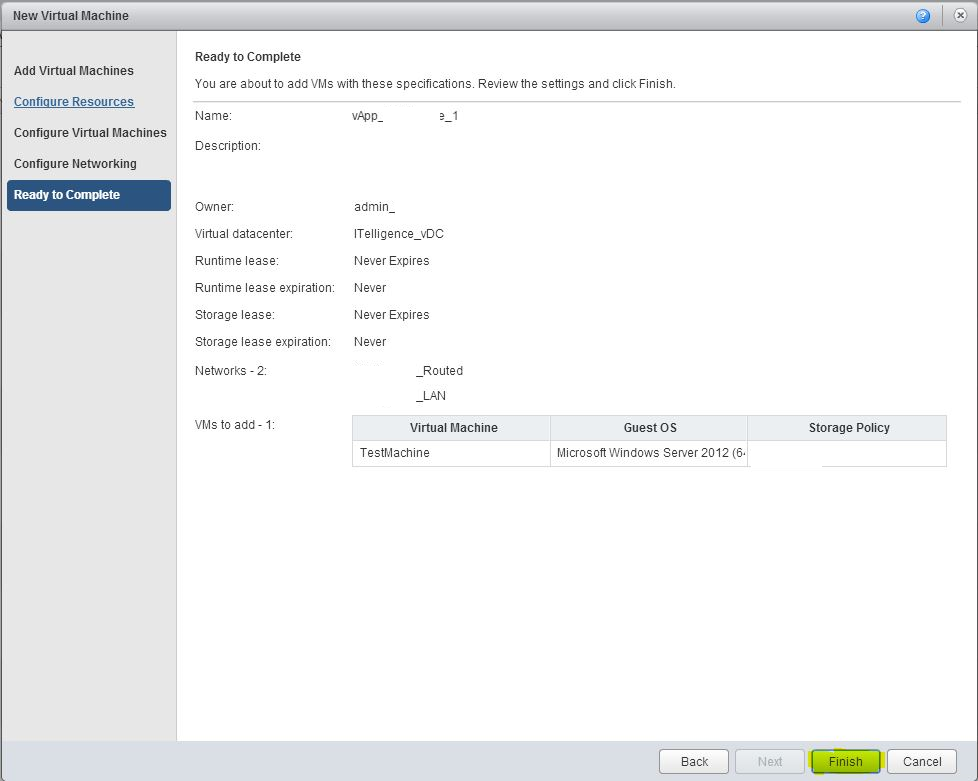
- Review all the settings you set up and press Finish
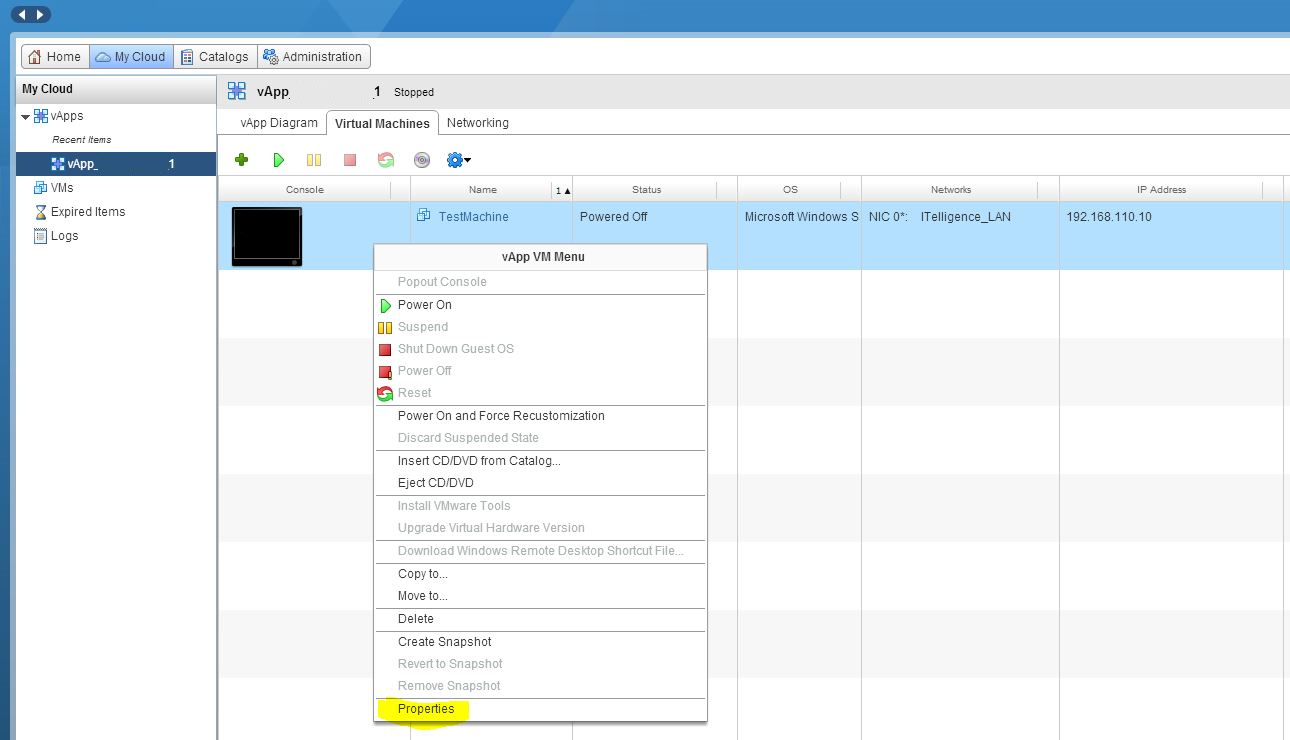
- Wait for some time VM to be created. Right click on VM and choose Properties
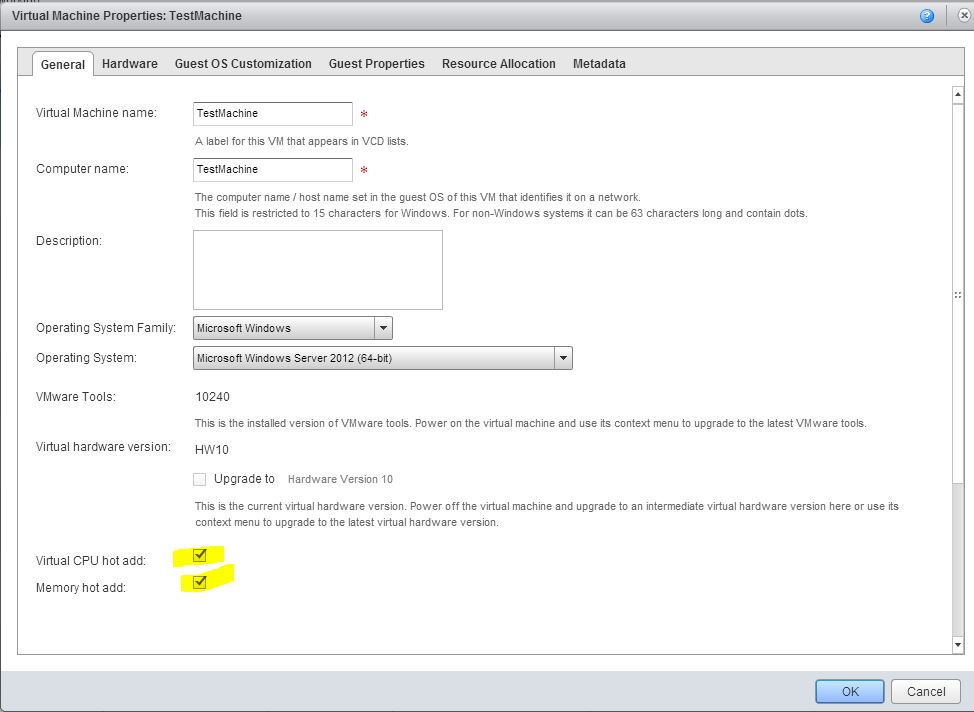
- Tick on Checkboxes Virtual CPU hot add&Memory hot add this will allow you later on to add additional resources without shutting down the VM
- Choose the amount of CPU/Memory/HDD you will need
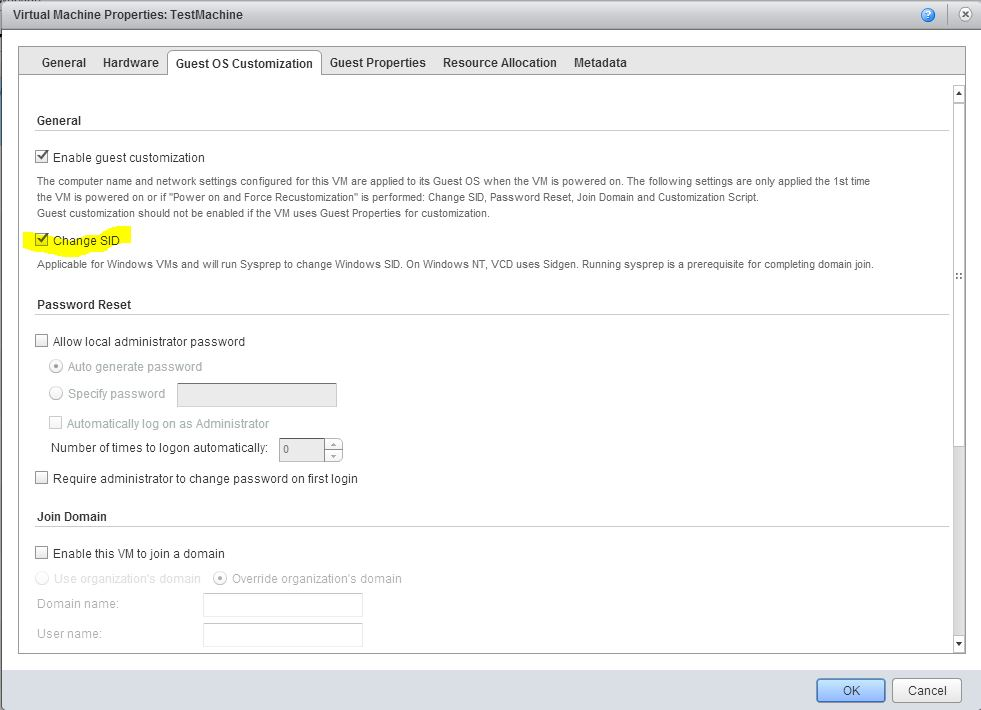
- Guest OS customization you need to choose Change SID or you wont be able to join machines made from this template to the same domain. Also you can change here local admin password. After you chosen everything press OK
- Right click on VM and choose Power on and Force Recustomization
- Wait some time VM will reboot several times apply IP address/change the Server Name and change SID

Leave a Reply